If you struggle with stiffness or pain in your lower back, the prone press up is one of the simplest and most effective exercises you can add to your routine. Commonly used in physical therapy and the McKenzie method for back pain, this movement can help reduce disc-related pain, improve spinal extension, and restore healthy movement—when done correctly.
This guide walks you through what a prone press up is, why it works, how to do it with perfect form, and how to avoid the mistakes that make back pain worse instead of better.
What Is a Prone Press Up?
A prone press up is a gentle back extension exercise done lying face down. You use your arms to press your upper body off the floor while your hips and legs stay relaxed on the ground.
It’s often prescribed for:
- Mild to moderate lower back pain
- Pain that’s worse when sitting and better when standing/walking
- Some kinds of disc-related pain, especially when pain centralizes (moves out of the leg and back toward the spine)
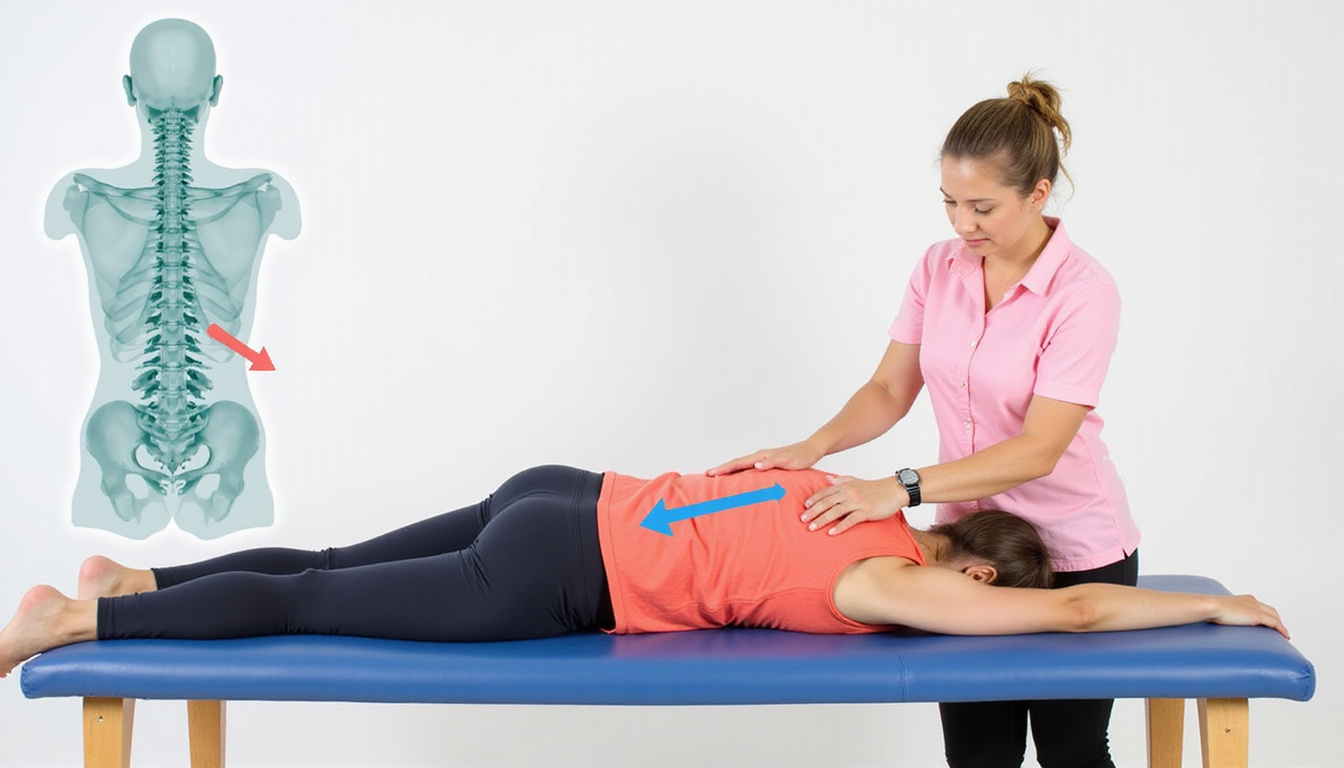
The movement fits into what’s called “extension-based” therapy, where you gently extend (bend backward) the spine to help relieve pressure from spinal structures and encourage better alignment.
Why the Prone Press Up Helps Lower Back Pain
When performed properly, the prone press up can provide fast relief for some people by:
-
Encouraging disc material to move away from nerves
In some disc issues (like certain herniations or bulges), repeated extension can help reduce pressure on nerve roots and decrease radiating pain. -
Centralizing symptoms
One key sign that this exercise is helping is when pain moves out of your leg or buttock and back toward the spine. That’s called “centralization” and is typically a good clinical sign (source: American Physical Therapy Association). -
Restoring extension mobility
Many of us spend hours sitting, slouched over laptops or phones. This loads the spine in flexion (bending forward). The prone press up gives the opposite motion—extension—often relieving stiffness created by prolonged sitting. -
Improving circulation and nutrition to spinal tissues
Repeated, controlled movement of the spine can improve blood flow and help discs and soft tissues stay healthier. -
Reducing fear of movement
Back pain often leads to guarding and avoidance. A controlled, safe exercise like the prone press up helps rebuild confidence in moving the spine.
Who Should (and Shouldn’t) Do the Prone Press Up
The prone press up isn’t right for everyone. Knowing when it’s appropriate is as important as using correct form.
Likely Good Candidates
You may benefit if:
- Your pain is mostly in the lower back, sometimes with mild radiation into the buttocks or thigh.
- Your pain tends to be worse with sitting, bending, or lifting.
- Your pain often feels better when standing, walking, or arching backward.
- You notice pain centralizes (moves out of the leg and closer to the spine) when you gently extend the back.
Use Caution or Avoid If
Stop and consult a professional before continuing if:
- Pain travels below the knee, especially with numbness or weakness.
- You have loss of bowel or bladder control, or severe saddle (inner thigh/groin) numbness. This is an emergency—seek immediate care.
- Bending backward sharpens or spreads pain down the leg.
- You’ve been told you have spinal fractures, severe osteoporosis, spinal infection, or cancer.
- You’re currently in acute trauma from a fall, accident, or major injury.
When in doubt, get clearance from a physical therapist or doctor before adding this or any back exercise to your routine.
How to Do the Prone Press Up With Perfect Form
Follow these step-by-step instructions to perform the prone press up safely and effectively.
Step 1: Set Up in the Prone Position
- Lie face down on a firm, comfortable surface (yoga mat or carpet).
- Legs extended straight behind you, feet about hip-width apart.
- Let your toes relax; no need to push into them.
- Rest your forehead on the mat or turn your head to one side if needed for comfort.
- Let your glutes and lower back relax—no tightening or bracing.
Step 2: Place Your Hands
- Bend your elbows and place your hands on the floor beside your chest, about where they would be for a push-up.
- Hands slightly wider than shoulder-width.
- Elbows close to your sides, not flared way out.
- Shoulders relaxed down (avoid shrugging toward your ears).
Step 3: Press Up Slowly
- Inhale to prepare.
- As you exhale, gently press into your hands to lift your chest off the floor.
- Keep your hips and pelvis on the ground. They are your anchor.
- Let your lower back relax and sag gently into extension—don’t stiffen or clench.
- Lift only as high as is comfortable and does not worsen or spread pain.
You’re aiming for a smooth, pain-free arch in the lower back, not a forced stretch.
Step 4: Hold and Return
- At the top, hold for 1–2 seconds while breathing calmly.
- Slowly lower your chest back to the mat.
- Rest briefly (1–2 seconds) in the starting position.
That’s one repetition.
Recommended Reps, Sets, and Frequency
For most people starting out:
- Reps: 10 repetitions
- Sets: 2–3 sets per session
- Rest between sets: 30–60 seconds
- Frequency: 3–5 times per day during acute flare-ups; 1–2 times daily for maintenance
You don’t need to push to fatigue. The goal is frequent, gentle motion, not a workout.
How to Know If the Prone Press Up Is Helping
Monitor your symptoms while you do the prone press up:
-
Good signs:
- Pain centralizes—moves from leg/buttock toward the spine.
- Pain decreases in intensity overall.
- Movement feels easier and less stiff after a few sets.
- The back feels looser and you can stand straighter.
-
Warning signs:
- Pain increases sharply in the leg or travels further down.
- New or worsening numbness, tingling, or weakness in your leg or foot.
- A strong feeling of instability or “giving way.”
If you experience warning signs, stop and consult a healthcare professional.
Common Mistakes to Avoid
To get the most from the prone press up and protect your back, watch out for these frequent errors:
-
Forcing through sharp pain
You shouldn’t “push through” severe pain, especially if it radiates down the leg. -
Lifting the hips off the ground
If your hips rise off the mat, you’re turning it into more of a push-up. Keep the pelvis planted. -
Clenching glutes and bracing the core too hard
This exercise works best when the lower back muscles and glutes are relaxed. Over-bracing can block the extension movement. -
Moving too fast
Rapid, jerky press-ups make it harder to monitor symptoms. Move slowly and deliberately. -
Overextending the neck
Keep your neck in a comfortable, neutral or slightly extended position. Don’t crank your head back.
Progressions and Modifications
Not everyone starts at the same point. Here’s how to make the prone press up easier—or more challenging—based on your needs.
If It’s Too Painful or Difficult
Try these modifications:
-
Prone on Elbows (Cobra Prep)
- Lie face down, then lift onto your forearms, elbows under shoulders.
- Keep hips on the floor.
- Hold for 10–20 seconds, repeat 5–10 times.
This is a milder extension position and a great starting point.
-
Partial Press Up
- Only lift your chest a few inches off the floor.
- Stay within a range that doesn’t increase leg symptoms.
- As things improve, gradually increase how high you press.
-
Use a Pillow Under Hips (if very sensitive)
- Place a small pillow under your hips/pelvis to reduce the extension angle.
- Progress by using smaller supports over time.
If You Need More Challenge
Once your back tolerates prone press ups well and symptoms are improving, you can:
-
Hold at the Top Longer
- Hold for 5–10 seconds instead of 1–2, keeping muscles relaxed.
-
Increase Reps
- Build up to 15–20 repetitions per set, as tolerated.
-
Add Extension Throughout the Day
- Stand and do gentle backward bends (hands on hips) every hour you sit.
A Simple Back-Relief Routine Featuring the Prone Press Up
Here’s a basic daily sequence you can try (if cleared by your provider):
- Prone on Elbows: 5–10 holds of 10 seconds
- Prone Press Up: 2 sets of 10 repetitions
- Gentle Standing Back Bends: 10 reps, hands on hips, leaning slightly backward
- Short Walk: 5–10 minutes at a comfortable pace
This combination of gentle extension, movement, and walking often works well for desk workers and those with mild mechanical back pain.
Safety Tips for Using the Prone Press Up for Back Pain
Keep these guidelines in mind:
- Start slow and assess how your body responds.
- Track your symptoms for 24 hours after trying the prone press up the first few times.
- If pain consistently improves or centralizes, you’re likely on the right track.
- If pain worsens or spreads, discontinue and get professional guidance.
- Combine the prone press up with lifestyle changes: better posture, regular breaks from sitting, and basic strength work for your hips and core once pain settles.
FAQ: prone press up and Lower Back Pain
1. Is the prone press up good for lower back disc problems?
For many people with certain types of disc bulges or herniations, the prone press up exercise can help centralize pain and reduce nerve irritation by encouraging disc material away from nerve roots. However, it’s not appropriate for every disc issue, so getting assessed by a healthcare professional is important before relying on it as your main treatment.
2. How often should I do prone press ups for back pain relief?
When your symptoms are compatible and your provider has cleared it, doing prone press ups for back pain 3–5 times per day in short sets of 10 repetitions can be effective. Frequent, gentle movement tends to work better than one long, intense session.
3. Can the prone press up make sciatica worse?
In some cases of sciatica, especially when bending backward increases leg symptoms, the prone press up for sciatica can aggravate pain. If your leg pain moves further down, intensifies, or you develop new numbness or weakness, stop immediately and seek professional guidance.
Take Action: Use the Prone Press Up the Right Way
You don’t have to live with constant, nagging lower back pain or rely solely on painkillers and rest. When appropriate and done with correct form, the prone press up is a powerful, simple tool you can use at home or at work to quickly relieve stiffness, centralize pain, and restore healthier spinal motion.
If your symptoms sound like those described here—and especially if your pain improves when you gently arch backward—start with the modified versions, move slowly, and pay attention to how your body responds. For the safest and most effective plan, consider booking an appointment with a licensed physical therapist or spine specialist who can confirm whether the prone press up is right for you and customize a full program around it.
Your back responds to what you do every day. Begin today by adding a few minutes of targeted, smart movement—and take the first real step toward lasting relief.