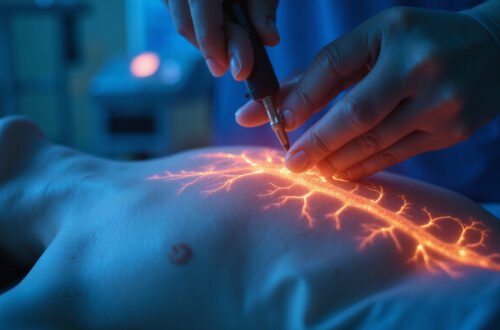
Myofascial Release: 6 Proven Moves to End Stiffness Fast
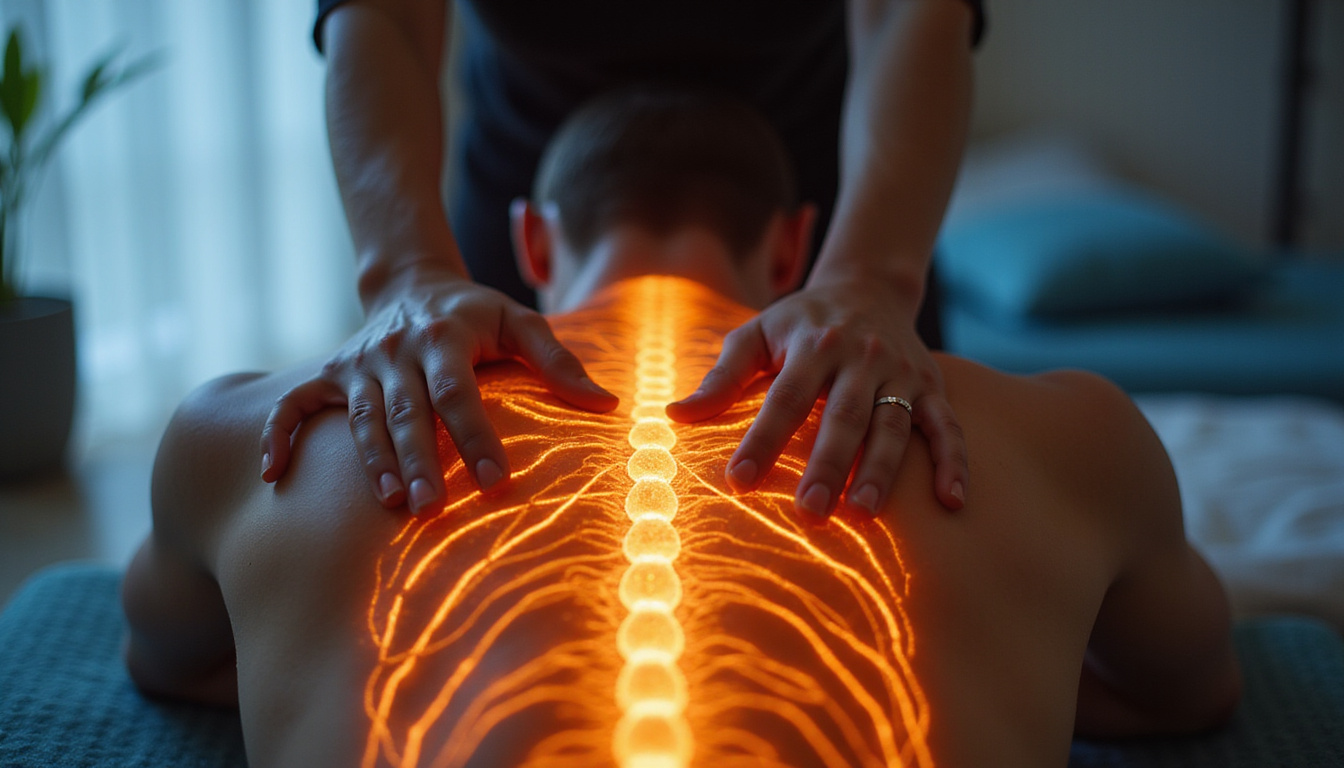
If you wake up stiff, feel tight after sitting, or struggle with “knots” that never seem to go away, myofascial release can be a game changer. This gentle, targeted approach focuses on the fascia—the web of connective tissue surrounding your muscles—to reduce tension, improve mobility, and ease pain. With just a few simple tools and the right technique, you can start undoing years of built-up tightness in minutes a day.
Below you’ll find six proven myofascial release moves you can safely use at home, along with tips to get more relief with less effort.
What Is Myofascial Release, Really?
Myofascial release is a hands-on or tool-based technique that targets the fascia: a thin, tough, elastic tissue that wraps around and through your muscles, tendons, ligaments, and organs. When fascia gets tight, dehydrated, or stuck—often from poor posture, stress, injury, or overuse—it can limit movement and create pain or a “pulling” sensation in seemingly random places.
Myofascial release works by:
- Applying sustained, gentle pressure to specific tight spots
- Encouraging the tissue to soften and lengthen
- Improving blood flow and hydration in the area
- Calming the nervous system so muscles can truly let go
Research supports its use for reducing pain and improving function in conditions like chronic low back pain and fibromyalgia (source: National Institutes of Health).
How to Use Myofascial Release Safely
Before diving into the six moves, a few key principles:
- Mild discomfort is OK; sharp pain is not. Aim for a 4–6 out of 10 level of intensity.
- Move slowly. Rushing defeats the purpose. Spend 60–120 seconds per spot.
- Breathe deeply. Slow nasal breathing helps your body relax into the pressure.
- Avoid bony areas, joints, and anything that feels “wrong.” Do not roll directly on your low back spine, neck vertebrae, or knees.
- Consistency beats intensity. 5–15 minutes, 3–5 times a week, will help more than a once-a-month torture session.
You’ll want a foam roller (medium firmness) and a massage ball (lacrosse or tennis ball) for the moves below.
Move 1: Upper Back Melt (Thoracic Myofascial Release)
Stiff between your shoulder blades? Desk work, driving, and phone use round the upper back and tighten fascia along the spine. This myofascial release move helps restore extension and eases neck and shoulder strain.
How to do it
- Sit on the floor and place a foam roller horizontally behind you at mid-back level.
- Lie back so the roller is under your shoulder blades, knees bent, feet flat.
- Support your head with your hands; gently lift your hips a few inches.
- Slowly roll from mid-back to just below the shoulder line.
- When you find a tender spot, pause and breathe deeply for 30–60 seconds, allowing your ribs to expand over the roller.
Tip: Instead of rolling up and down quickly, think micro-movements: small shifts, gentle rocking, and long pauses.
Move 2: Hip Flexor Release for Long-Sitting Stiffness
Sitting keeps your hip flexors short and the fascia in front of your hips compressed, which can contribute to low back pain and a forward-tilted pelvis. This myofascial release targets the front of your hip where many people feel “stuck.”
How to do it
- Lie face-down on the floor.
- Place a foam roller or a soft ball under the front of one hip, just below the bony point.
- Shift your weight onto that side, using your arms for support.
- Slowly search side-to-side and up-and-down for the tightest, most tender spot.
- Once you find it, stop rolling and simply hold gentle pressure for 60–90 seconds.
- Repeat on the other side.
Progression: Bend your knee on the working side and slowly flex and extend the knee while maintaining pressure. This adds a gentle “flossing” of the tissue.
Move 3: Glute Trigger Point Release for Deep-Seated Tightness
Tight glutes and piriformis often refer pain into the low back and even down the leg. This simple ball-based myofascial release can unlock deep hip muscles you can’t easily stretch.
How to do it
- Sit on the floor or a firm chair and place a massage ball under one side of your butt.
- Shift your weight onto the ball until you feel pressure on a tender spot.
- Cross the ankle of that same leg over the opposite knee to expose more of the glute.
- Gently lean and rock in small circles or side to side over the ball.
- When you find a “hot spot,” hold on it 30–60 seconds while breathing slowly.
- Switch sides.
Aim for: 2–3 spots per glute, staying under your pain threshold.
Move 4: Plantar Fascia Release for Foot and Calf Relief
If your feet feel like bricks in the morning or you battle plantar fasciitis, this myofascial release move can help free up the dense fascia on the sole of your foot, which influences the entire posterior chain up to your calves and hamstrings.
How to do it
- Sit or stand with a massage ball under one foot.
- Start near the heel and apply gentle pressure as you slowly roll toward the ball of the foot.
- Spend extra time on any gritty, ropey, or especially tender areas.
- Try three directions:
- Straight front-to-back
- Side-to-side across the arch
- Small circles under tight spots
- Work each foot for 1–2 minutes.
Bonus: Follow this with a short calf stretch for longer-lasting relief.
Move 5: Chest and Shoulder Opener (Pectoral Myofascial Release)
Rounded shoulders, tight pecs, and desk posture tighten fascia across the chest and front of the shoulders. This can limit overhead motion and set you up for neck pain. This myofascial release move helps open the front body.
How to do it
- Stand facing a wall and place a massage ball between your chest (just inside the shoulder) and the wall.
- Lean in gently until you feel moderate pressure.
- Move your torso slowly up, down, and side-to-side to “scan” for adhesions.
- When you hit a tender spot, pause.
- While maintaining pressure, slowly move your arm:
- Out to the side
- Overhead
- Behind your back (as tolerated)
- Spend 60–90 seconds on 2–3 spots per side.
Tip: Keep your shoulders away from your ears and your jaw relaxed. The more you relax, the more the fascia will release.
Move 6: Neck and Upper Trap Release (Headache Helper)
Many tension headaches and neck aches stem from overworked upper traps and surrounding fascia. This gentle myofascial release can quiet that area without putting pressure directly on the neck vertebrae.
How to do it
- Lie on your back with knees bent.
- Place two massage balls in a sock or small pouch and position them under the base of your skull (on the muscles, not the spine).
- Rest your head on the balls, adjusting until you feel firmness on tight spots along the base of the skull.
- Slowly nod “yes” and then “no” with tiny movements, keeping the motion smooth and relaxed.
- After 30–60 seconds, slide the balls slightly outward to target the upper trapezius area and repeat.
- Total time: 2–3 minutes.
Important: Keep intensity low in this region. This should feel like relief, not strain.
Putting It Together: A 10–15 Minute Myofascial Release Routine
You don’t need to do every move every day. Rotate based on where you feel the most stiffness. Here’s a sample quick routine:
- Upper Back Melt – 2 minutes
- Chest and Shoulder Opener – 2–3 minutes
- Glute Trigger Point Release – 3 minutes (both sides)
- Plantar Fascia Release – 2 minutes (both feet)
- Neck and Upper Trap Release – 2–3 minutes
Total: about 10–12 minutes, perfect before bed or after work.
For best results:
- Start 3 times per week and build up to daily if helpful.
- Pair myofascial release with light mobility work (like cat-cow, hip circles, or shoulder circles).
- Stay hydrated—fascia responds better when you’re not dehydrated.
Common Mistakes to Avoid with Myofascial Release
To get the benefits of myofascial release without setbacks, skip these common errors:
-
Rolling too fast
Quick, aggressive rolling mostly stimulates muscles and nerves; it doesn’t give fascia time to change. -
Using tools that are too hard too soon
Starting with very hard balls or rollers can cause guarding and more tightness. Choose medium density at first. -
Overdoing one area
Spending 5–10 minutes on a single tender spot can irritate the tissue. Cap it at 1–2 minutes per spot. -
Ignoring your breath
Holding your breath signals your nervous system to stay on high alert, making release harder. -
Pushing through sharp or radiating pain
This is a red flag. Stop immediately and adjust position, pressure, or skip that area entirely.
Who Should Be Careful with Myofascial Release?
Myofascial release is generally safe, but talk with a healthcare professional before starting if you:
- Have osteoporosis or are prone to fractures
- Take blood thinners or bruise very easily
- Have uncontrolled high blood pressure
- Are recovering from recent surgery or acute injury
- Have conditions affecting sensation (e.g., neuropathy) and may not feel pain accurately
If you’re unsure, get guidance from a physical therapist or qualified bodyworker experienced in myofascial techniques.
FAQ: Myofascial Release and Stiffness
1. How often should I do myofascial release for stiffness?
Most people benefit from myofascial release 3–5 times per week, focusing on tight areas for 10–20 minutes total. If your body responds well, you can do light sessions daily. Watch how your muscles feel the next day—slight soreness is okay, sharp pain or increased stiffness means you did too much.
2. Is self myofascial release as effective as seeing a therapist?
Self myofascial release can be very effective for routine stiffness, posture-related tightness, and recovery between workouts. A skilled therapist, however, can reach deeper layers, spot movement patterns you might miss, and treat complex pain issues. Many people do best with a combination: periodic professional sessions plus regular self myofascial release at home.
3. Can myofascial trigger point release help chronic pain?
Myofascial trigger point work can reduce pain from chronic muscle tension, headaches, back pain, and some forms of repetitive strain. While it’s not a cure-all, regular myofascial release often decreases pain intensity, improves range of motion, and can reduce reliance on pain medications when combined with exercise and lifestyle changes.
Start Releasing Tension Today
You don’t need an hour-long massage or a gym full of equipment to start feeling better. With a foam roller, a simple ball, and 10–15 focused minutes, myofascial release can:
- Loosen stiff, overworked muscles
- Improve posture and ease daily movement
- Reduce nagging aches that stretching alone doesn’t fix
Pick one or two of the moves above and try them today, paying attention to how your body responds over the next 24 hours. Then build your own personal routine around the releases that give you the most relief. If you want a tailored plan for your specific pain or sport, consider working with a physical therapist or bodyworker who specializes in myofascial release to accelerate your progress and end stiffness even faster.