If you run, walk for exercise, or play any sport that involves moving on your feet, gait analysis can be the missing link between constant nagging pain and smooth, powerful movement. By understanding how your body moves with every step, you can address the real causes of discomfort, unlock more speed with less effort, and dramatically reduce your risk of injury.
This guide breaks down gait analysis in simple, practical terms and shows you exactly how to use it to move better—whether you’re a beginner, a long-time runner, or just tired of recurring pain.
What Is Gait Analysis?
Gait analysis is the systematic study of how you walk or run. It looks at:
- How your feet strike the ground
- How your knees, hips, and pelvis move
- How your posture and arm swing affect your stride
- How forces travel through your body with each step
In a clinical or sports setting, gait analysis might involve video recording, pressure plates, 3D motion capture, or wearable sensors. But even simple visual assessments and phone videos can reveal valuable clues.
At its core, gait analysis answers two critical questions:
- Are you moving efficiently?
- Are you moving in a way that increases your risk of pain or injury?
Why Gait Analysis Matters for Pain and Performance
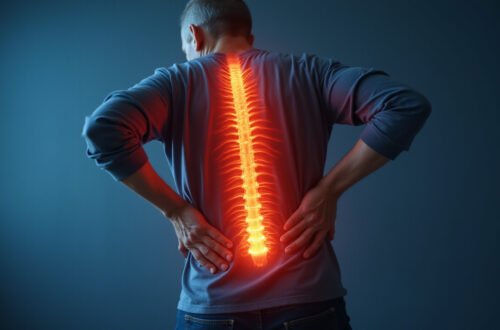
Many people focus on isolated body parts: “My knee hurts,” “My Achilles is tight,” “My lower back is killing me.” But pain often comes from movement patterns, not just local tissue problems. Gait analysis helps you see the pattern behind the pain.
How Gait Analysis Helps Fix Pain
Detailed gait analysis can:
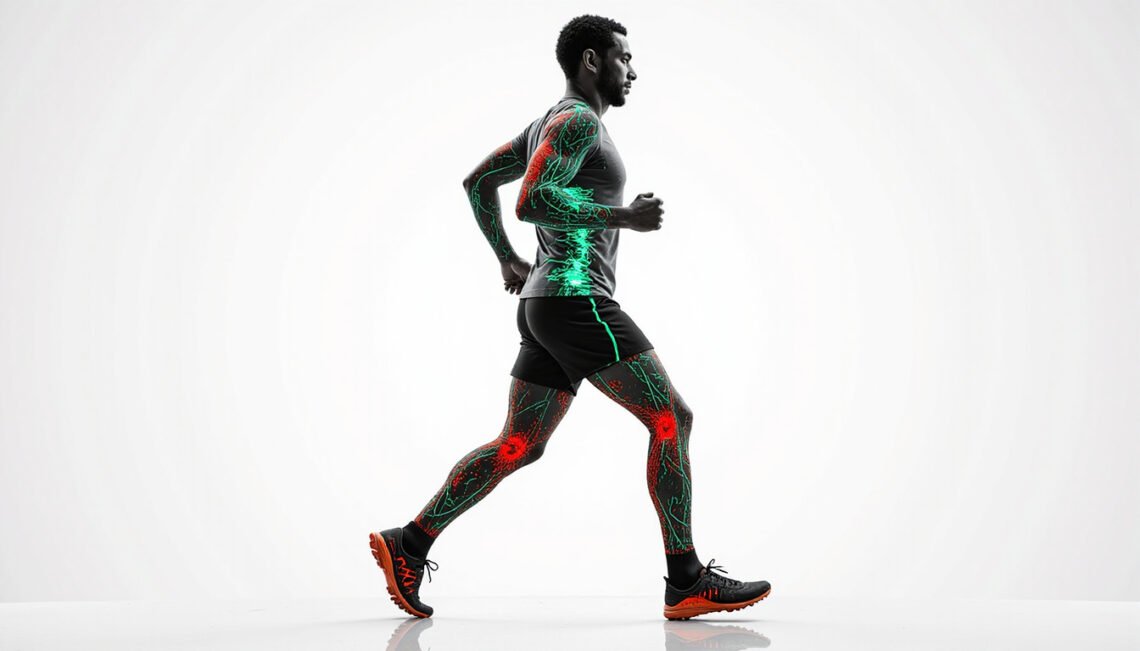
- Identify overloaded joints (e.g., knees collapsing inward, excessive pelvic drop)
- Reveal imbalances between left and right sides
- Highlight compensations you’ve developed after an old injury
- Show where you’re landing too hard or overstriding
By addressing these issues—through changes in technique, strength training, or footwear—you reduce stress on vulnerable tissues like the knees, hips, shins, plantar fascia, and lower back.
How Gait Analysis Makes You Faster
Speed isn’t just about fitness; it’s about how you apply force. Efficient gait:
- Wastes less energy in side-to-side or up-and-down movement
- Maximizes forward propulsion with each step
- Improves cadence (steps per minute) and stride length balance
- Reduces braking forces, helping you maintain momentum
Subtle changes—like reducing overstriding or improving hip extension—can translate into noticeable pace improvements without working harder.
Key Elements of Your Gait (Explained Simply)
When analyzing your gait, these are the major components professionals look at:
1. Foot Strike
This is how your foot first contacts the ground.
- Rearfoot strike: Heel hits first
- Midfoot strike: Heel and ball of foot land nearly together
- Forefoot strike: Ball of foot lands first
None is automatically “right” or “wrong,” but extreme patterns (like aggressive heel striking way in front of your body) can increase impact and braking forces.
2. Overstriding and Cadence
- Overstriding: Your foot lands too far in front of your body’s center of mass. This creates a braking effect and sends higher forces into your knees and hips.
- Cadence: Steps per minute. Many runners find that slightly increasing cadence (often into the 165–180 range, depending on height and pace) reduces overstriding and joint stress.
3. Pronation
Pronation is the natural inward rolling of the foot as it lands and helps absorb impact.
- Neutral pronation: Mild inward roll—usually ideal
- Overpronation: Excessive inward roll, potentially stressing knees or arches
- Underpronation (supination): Too little roll, less shock absorption
The goal is not to “stop” pronation but to keep it within a healthy range.
4. Alignment: Knees, Hips, and Pelvis
Watch for:
- Knees collapsing inward (valgus)
- Pelvis dropping on one side
- Excessive trunk leaning or rotation
These often point to weakness or poor control in the hips, glutes, and core rather than a problem at the foot alone.
5. Posture and Arm Swing
- Slight forward lean from the ankles (not the waist)
- Relaxed shoulders
- Arm swing forward and back (not across the body)
Efficient posture helps drive you forward instead of bouncing up and down.
Simple Ways to Get Your Gait Analyzed
You don’t need a lab full of technology to benefit from gait analysis. Here are your main options:
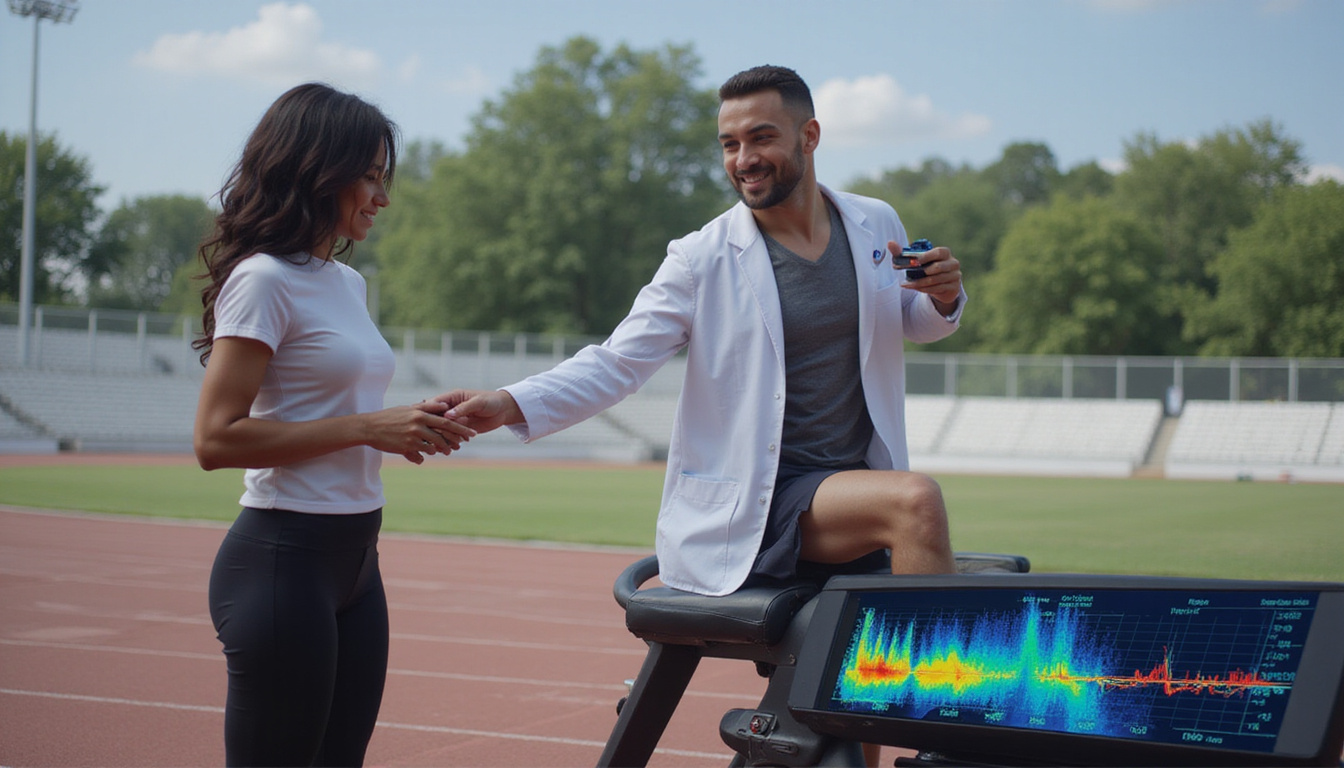
1. Professional Clinical Gait Analysis
Typically performed by:
- Sports medicine physicians
- Physical therapists / physiotherapists
- Biomechanics or running specialists
They may use:
- Multi-angle high-speed video
- Pressure plates or force plates
- 3D motion capture systems
This is the most detailed and useful if you have ongoing pain, a history of injuries, or performance goals. A professional can link what they see to targeted treatment and training changes.
2. Running Store Gait Analysis
Many specialty running stores offer basic gait analysis on a treadmill, often free with shoe fitting. They usually:
- Film you walking or running
- Check your pronation level
- Recommend shoe types (neutral, stability, motion control)
It’s a good starting point, especially for choosing footwear, but less comprehensive than a medical or performance lab assessment.
3. DIY Gait Analysis at Home
You can learn a lot with just:
- A smartphone camera
- Good lighting
- 5–10 seconds of walking and running footage
Record from:
- Side view: to check overstriding, posture, vertical bounce
- Rear view: to see knee alignment, pelvis drop, and pronation
Then review in slow motion (0.25–0.5x speed). Even a simple self-audit can reveal obvious issues like heavy heel striking, extreme crossover steps, or excessive bouncing.
Step-by-Step: Use Gait Analysis to Fix Pain and Improve Speed
Once you’ve gathered information—professionally or at home—here’s how to turn it into action.
Step 1: Identify Your Main Gait Issues
Examples include:
- Heavy heel strike far in front of your body
- Knees collapsing inward
- Pelvis dropping on one side
- Extremely low or high cadence
- Feet crossing the midline (tightrope running)
Pick 1–2 primary issues to focus on first. Trying to fix everything at once rarely works.
Step 2: Match Issues to Likely Causes
Often, the “problem” is not just your gait but the underlying strength or mobility.
- Knee collapse inward: Usually weak glute medius/hips
- Pelvic drop: Poor lateral hip and core strength
- Severe overstriding: Low cadence, poor technique habits
- Excessive bounce: Weak or untrained elastic recoil, overstriding
- Overpronation: Combination of foot structure, hip stability, and shoe choice
A skilled clinician or coach can help you interpret this, but even self-education and observation go a long way.
Step 3: Use “Form Cues” to Reinforce Better Patterns
Keep cues simple and external (focused on what you do to the ground or space), not internal (muscle-by-muscle).
Common helpful cues:
- “Land with your foot under your hips” (reduces overstriding)
- “Run tall, like a string pulling you from the crown of your head” (improves posture)
- “Light, quick steps” (improves cadence, reduces impact)
- “Push the ground back, not down” (better propulsion)
Practice these during short portions of easy runs or walks, not all at once for the entire session.
Step 4: Add Targeted Strength and Mobility Work
Gait changes stick better when your body has the capacity to support them. Focus on:
- Glutes & hips: Clamshells, side steps with bands, single-leg deadlifts, step-ups
- Core stability: Planks, side planks, dead bugs, anti-rotation exercises
- Calves & feet: Calf raises, eccentric heel drops, towel scrunches, short-foot exercises
- Ankles & hips mobility: Gentle dynamic stretches and controlled mobility drills
Consistent strength work 2–3 times per week supports lasting improvement.
Step 5: Consider Footwear Adjustments
Based on your gait analysis, you might benefit from:
- More stable shoes if you significantly overpronate
- Lighter, more flexible shoes if you’re transitioning to a midfoot strike
- Custom orthotics in some clinical cases (e.g., structural abnormalities, severe overpronation)
Footwear alone won’t “fix” gait problems, but it can reduce stress on sensitive tissues and support better mechanics.
(For evidence-based guidance on footwear and gait, see the American Academy of Orthopaedic Surgeons’ resources on running and foot health: AAOS – source.)
Step 6: Change Gradually
One of the biggest mistakes is changing too much, too fast.
- Introduce form changes in short intervals (e.g., 30–60 seconds every few minutes).
- Don’t suddenly switch from heavy heel strike to full forefoot strike on long runs.
- Progress footwear changes over weeks, not days.
Your tissues need time to adapt to new loading patterns, even if they’re technically “better.”
Simple At-Home Gait Checklist
Use this quick checklist as you review your gait video:
- Does my foot land roughly under my body, not way out in front?
- Do my knees stay aligned over my second toe (not collapsing inward)?
- Does my pelvis stay relatively level (no big drop on one side)?
- Is my posture tall with a slight forward lean from the ankles, not the waist?
- Do my steps look quick and light, or long and pounding?
- From behind, do my feet track straight, with moderate—not excessive—rolling in?
If you answer “no” to several of these, a deeper professional gait analysis is worth considering.
Who Benefits Most from Gait Analysis?
Gait analysis is valuable for almost anyone who moves regularly, but it’s especially useful if you:
- Have recurring injuries (shin splints, IT band pain, plantar fasciitis, runner’s knee)
- Are increasing distance or intensity for a race or fitness goal
- Feel stuck at a certain pace despite consistent training
- Have pain that always appears after a certain mileage or speed
- Are returning to activity after a major injury or surgery
Early analysis helps prevent minor issues from snowballing into major setbacks.
FAQs About Gait Analysis and Running Form
1. Is running gait analysis worth it for casual runners?
Yes. Even if you run a few times a week, a basic running gait analysis can help you choose the right shoes, avoid common overuse injuries, and make your runs feel easier. You don’t need to be elite to benefit from identifying and correcting inefficient movement patterns.
2. Can walking gait analysis help with knee and hip pain?
Absolutely. A walking gait analysis is often used in physical therapy to pinpoint why everyday movement is stressing your knees, hips, or lower back. Issues like overpronation, hip drop, or poor alignment during walking can cause just as much discomfort as running, especially if you’re on your feet all day.
3. How often should I repeat a gait assessment?
If you’ve made significant changes to your training, footwear, or strength program—or if new pain appears—a gait assessment every 6–12 months is a good rule of thumb. After injury, reassessing your gait before ramping up mileage can help ensure you’re not repeating old habits that led to problems in the first place.
Take the Next Step: Get Your Gait Analyzed and Move Pain-Free
You don’t have to guess why your knees ache, your shins flare up, or your pace won’t budge. Gait analysis turns guesswork into clear, actionable insight. By understanding how you move—and making simple, targeted changes—you can:
- Reduce or eliminate chronic pain
- Run and walk more efficiently
- Gain speed without extra strain
- Protect your body for the long term
Start with whatever level of assessment is accessible to you right now: a quick video on your phone, a visit to a specialty running store, or an appointment with a sports medicine or physical therapy professional. The sooner you see what’s really happening with every step, the sooner you can fix the problem at its source and feel the difference in every mile.
Take one concrete action today: record your gait or schedule a professional evaluation—and use those insights to build a stronger, faster, pain-free way of moving.