Foam Roller Secrets: Release Tight Muscles Fast Without Pain
If you’ve ever used a foam roller and thought, “This hurts—am I even doing it right?”, you’re not alone. Rolling can be incredibly effective for tight muscles, but most people either roll too hard, too fast, or in the wrong places. The good news: you can get all the benefits—better mobility, less soreness, improved performance—without gritting your teeth through pain.
This guide breaks down how to use a foam roller safely, gently, and efficiently so you actually feel better when you’re done.
Why Foam Rolling Works (and Why It Sometimes Hurts)
Foam rolling is a form of self-myofascial release (SMR). In simple terms, it’s a way to:
- Reduce muscle tension
- Improve blood flow
- Restore normal movement to “sticky” tissues
- Help your nervous system relax
Research suggests that foam rolling can improve short-term flexibility and may reduce muscle soreness after exercise (source: National Library of Medicine).
So why does it sometimes hurt?
- Excess pressure: Rolling your full body weight on tight or sensitive areas can overload your tissues.
- Rushing: Fast, aggressive rolling fires up your muscles and nervous system instead of calming them.
- Wrong targets: People often roll directly on painful spots (like joints or inflamed tissues) instead of the surrounding muscles.
Pain is your body’s alarm system. You want mild discomfort—like a deep stretch—not sharp or burning pain. When done correctly, a foam roller should feel relieving, not punishing.
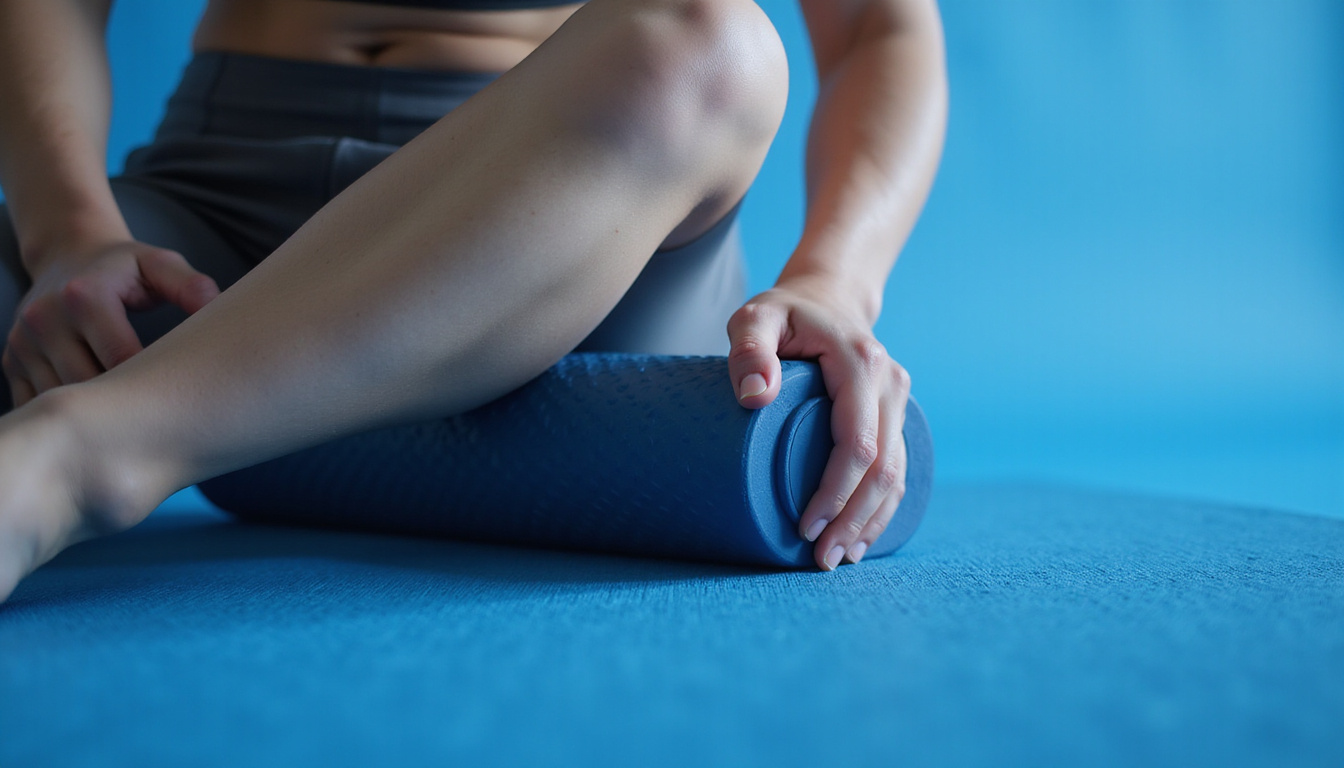
How to Use a Foam Roller Without Pain
Think of rolling as gentle “body maintenance,” not a punishment workout. Follow these principles for pain-free, effective sessions.
1. Stay in the “Good Pain” Zone
On a 1–10 discomfort scale:
- Aim for 3–5/10 (mild to moderate pressure)
- Avoid 7–10/10 (wincing, holding your breath, guarding the muscle)
If you can’t breathe slowly and deeply while rolling, back off.
2. Roll Slowly, Not Aggressively
Fast rolling tells your muscles to tense up. Slow rolling tells them to relax.
- Move about 1 inch per second
- Pause on tender spots for 10–20 seconds (light pressure), letting the tension “melt”
- Limit each area to 1–2 minutes to avoid irritation
3. Never Roll Directly on Joints or Bony Areas
Foam rollers are for muscles and soft tissue, not bones. Avoid:
- Knees
- Ankles
- Elbows
- Spine bones themselves (you can roll alongside the spine, not on it)
If it feels sharp, pokey, or “bone-on-roller,” move slightly above, below, or to the side.
Choosing the Right Foam Roller
Not all foam rollers are created equal—and the wrong one can make things feel far more painful than necessary.
Soft vs Firm Foam Rollers
-
Soft / low-density rollers
- Best for beginners, sensitive people, or very tight muscles
- More comfortable, easier to relax into
-
Firm / high-density rollers
- Better for athletes or those used to rolling
- Provide deeper pressure, but can be too intense for some
If foam rolling hurts a lot, start with a softer roller and upgrade later if needed.
Smooth vs Textured Rollers
-
Smooth rollers
- Even pressure, gentler on the body
- Ideal for full-body work and beginners
-
Textured / ridged / spiked rollers
- Target-specific knots but can be very intense
- Use only if you’re experienced and not overly sensitive
For pain-free rolling, a smooth, medium-firm roller is usually the best place to start.
Step-by-Step Foam Roller Routine for Tight Muscles
Here’s a simple, full-body routine designed to release tight muscles fast—without beating yourself up. You can do this 3–5 times per week or after workouts.
1. Calves (Back of Lower Leg)
Tight calves can contribute to ankle stiffness and plantar fasciitis.
- Sit on the floor, legs straight, roller under one calf.
- Support yourself with your hands behind you.
- Gently roll from just above the ankle to just below the knee.
- Turn your leg slightly inward and outward to reach different fibers.
- If you find a tender spot, pause and breathe slowly for 10–20 seconds.
Time: 30–60 seconds per side.
2. Hamstrings (Back of Thighs)
Releasing the hamstrings can ease tension in the knees and lower back.
- Sit on the roller with it under your hamstrings.
- Hands on the floor behind you for support.
- Roll from just above the back of the knee to below the glutes.
- Cross one leg over the other to increase pressure if needed.
- Move slowly, pausing on tight or tender zones.
Time: 1–2 minutes total.
3. Glutes and Hip Muscles
These muscles control your pelvis and are often tight from sitting.
- Sit on the roller and lean slightly onto one buttock.
- Cross the ankle of that side over the opposite knee (figure-4 shape), if comfortable.
- Roll slowly over the side and top of the glutes.
- Hunt for tight spots near the outer hip (not directly on the hip bone).
Time: 30–60 seconds per side.
4. Quads (Front of Thighs)
Tight quads can pull on your knees and front of hips.
- Lie face down with the roller under your thighs.
- Support yourself on your forearms (plank style).
- Roll from just below the hip bones to just above the knees.
- Turn toes slightly in or out to hit different fibers.
- For more focus, roll one leg at a time.
Time: 1–2 minutes total.
5. Upper Back (Thoracic Spine)
This is one of the safest and most comfortable areas to use a foam roller.
- Lie on your back with the roller under your upper back, perpendicular to your spine.
- Support your head with your hands, elbows slightly forward.
- Lift your hips a little and roll from mid-back to the base of your neck.
- Keep your core lightly engaged and avoid arching over the roller excessively.
Time: 60–90 seconds.
6. Lats (Side of Back)
Tight lats can limit shoulder mobility and contribute to neck or upper back tension.
- Lie on your side with the roller under your armpit area.
- Extend the bottom arm overhead; use your top hand and feet for support.
- Roll from just below the armpit down a few inches toward mid-ribcage.
- Avoid going too low into the floating ribs.
Time: 30–45 seconds per side.
Common Foam Roller Mistakes That Make Things Worse
Avoid these pitfalls if you want rolling to feel good and work effectively.
-
Rolling directly on sharp pain
- If an area is acutely painful or inflamed, don’t attack it with the foam roller. Work around it—above and below—until symptoms calm down.
-
Spending too long on one spot
- More time isn’t always better. Over-rolling can leave tissues irritated and sore. Stick to 1–2 minutes per area.
-
Holding your breath
- Breath-holding is a sign your nervous system feels threatened. Focus on slow nasal inhales and long exhales to signal “it’s safe to relax.”
-
Using only the hardest roller you can find
- Pain doesn’t equal effectiveness. A softer approach often produces better, longer-lasting relief.
-
Rolling as your only solution
- Foam rolling helps tissues relax, but lasting change comes from pairing it with good movement: strength training, mobility work, and regular activity.
When to Use a Foam Roller: Before or After Workouts?
You can use a foam roller both before and after exercise, with slightly different goals.
-
Before a workout
- Use it as part of a warm-up.
- Roll lightly (20–30 seconds per area), then follow with dynamic stretches and activation exercises.
- Goal: improve movement quality and range of motion.
-
After a workout or on rest days
- Spend a bit more time on tight areas (1–2 minutes each).
- Use slower, calming breathing to help recovery.
- Goal: reduce muscle tension and post-workout stiffness.
For most people, 5–10 minutes of foam rolling at a time is plenty.
Who Should Be Careful with Foam Rolling?
Foam rolling is generally safe, but certain people should proceed cautiously or consult a healthcare professional first:
- Those with osteoporosis or low bone density
- People with acute injuries, bruising, or swelling
- Anyone with blood clotting issues or on blood thinners
- People with nerve pain, numbness, or tingling
- Those with serious medical conditions affecting circulation or tissue health
If in doubt, check with a physical therapist, physician, or other qualified professional before starting an intense foam roller routine.
Quick Checklist: Pain-Free Foam Rolling Essentials
Use this as a simple guide each time you roll:
- Breathe slowly and deeply
- Keep discomfort at a 3–5/10 level
- Roll muscle, not bone or joints
- Move slowly, about 1 inch per second
- Limit each area to 1–2 minutes
- Stop if pain is sharp, electric, or increases afterward
FAQ: Foam Roller Basics and Best Practices
Q1: Is a foam roller good for back pain?
A foam roller can help with upper and mid-back stiffness by relaxing tight muscles and improving thoracic mobility. For lower back pain, you should avoid rolling directly on the lumbar spine; instead, focus on surrounding areas like glutes, hips, and upper back. If you have chronic or severe back pain, consult a professional before relying on a foam roller as your main solution.
Q2: How often should I use a foam roller for sore muscles?
Most people do well foam rolling 3–5 times per week for 5–15 minutes per session. You can use it more frequently as long as your muscles feel better, not more irritated, afterward. If soreness worsens or lingers, reduce intensity, switch to a softer roller, or give yourself a day off.
Q3: What type of foam roller is best for beginners?
A smooth, medium-density foam roller is usually best for beginners. It provides enough pressure to be effective without causing excessive pain. Once you’re comfortable and your tissues adapt, you can experiment with firmer or slightly textured rollers—if you actually need more intensity.
Using a foam roller doesn’t have to feel like a punishment. With the right technique, pressure, and timing, you can release tight muscles fast and without pain—and actually look forward to your recovery routine.
If you’re ready to move better and hurt less, grab a comfortable foam roller, set a timer for 10 minutes, and work through the routine above. Stay gentle, breathe deeply, and adjust as your body responds. Your muscles—and your future workouts—will thank you.