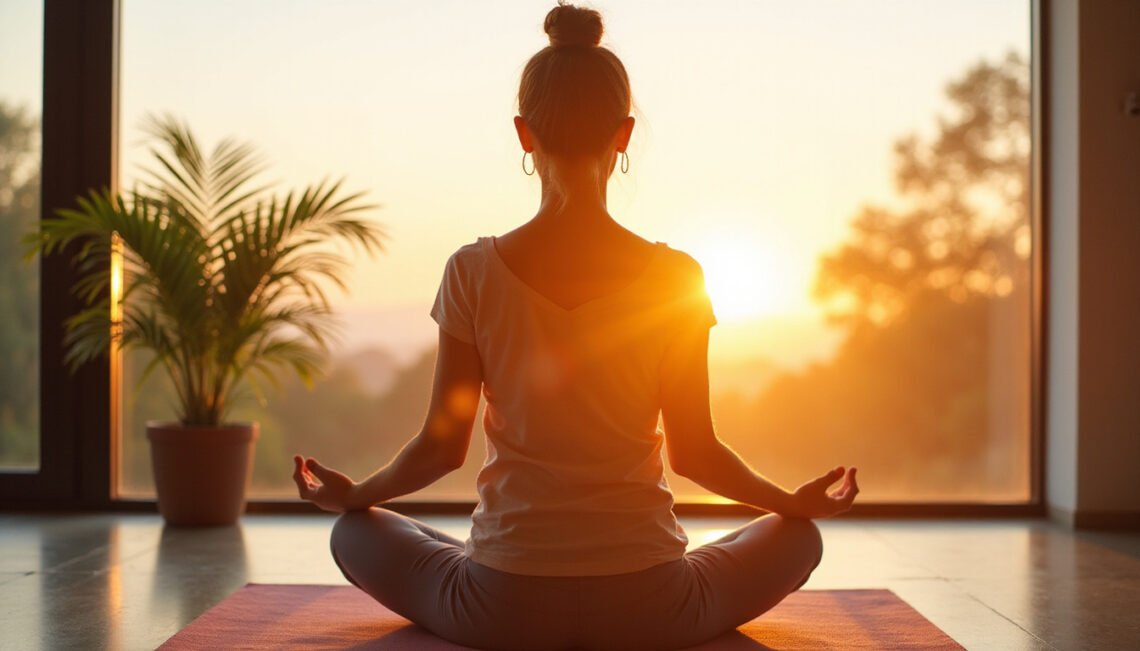
Living with a stiff, aching back can make everything—from getting out of bed to sitting at your desk—feel harder than it should. The good news: a gentle back pain yoga routine you can do daily often brings real relief, especially for stiffness caused by tight muscles, long hours of sitting, or stress.
This guide walks you through a simple, safe sequence you can practice in 15–20 minutes a day to ease stiffness, improve mobility, and support a healthier spine.
Always check with your doctor or physical therapist before starting yoga for back pain, especially if you have a recent injury, disc issues, osteoporosis, or radiating leg pain.
Why yoga helps with back pain and stiffness
Back pain rarely comes from just one cause. It’s usually a mix of:
- Tight hip flexors and hamstrings pulling on the pelvis
- Weak core and glute muscles forcing the low back to work overtime
- Rounded shoulders and a slumped upper back from sitting
- Stress and poor sleep increasing muscle tension
A smart back pain yoga practice targets all of these by:
- Gently stretching tight muscles
- Strengthening supporting muscles around the spine
- Improving posture and body awareness
- Calming the nervous system and reducing stress
Multiple studies show that yoga can improve function and reduce chronic low-back pain compared to usual care or no exercise (source: National Institutes of Health).
Before you start: safety tips for back pain yoga
To keep this routine safe and productive:
- Move slowly and avoid any sharp, shooting, or electric pain
- Use props: pillows, folded blankets, or yoga blocks
- Breathe steadily; never hold your breath in a pose
- Stay in a pain-free range—mild stretching is fine, strong pain is not
- Skip poses that increase your symptoms and note what bothers you
If your pain worsens or you develop numbness, tingling, or weakness, stop and consult a healthcare provider.
5-minute warm-up: wake up your spine gently
Begin with a short warm-up to bring circulation to the muscles around your back and prepare for deeper stretches.
1. Supported Child’s Pose (Balasana)
- How:
- Kneel on the floor, knees as wide as comfortable, big toes touching.
- Place a pillow or folded blanket between your thighs and under your chest.
- Gently fold forward, resting your torso and forehead on the support.
- Arms can stretch forward or rest by your sides.
- Hold: 8–10 slow breaths.
What it does: Lengthens the lower back, gently opens the hips, and calms the nervous system—an ideal entry into back pain yoga if you’re stiff or anxious.
2. Cat–Cow (Marjaryasana–Bitilasana)
- How:
- Come onto all fours with hands under shoulders and knees under hips.
- Cow: Inhale, drop your belly slightly, open the chest, and look forward.
- Cat: Exhale, round your spine toward the ceiling, tuck your chin and tailbone.
- Reps: 8–10 slow cycles.
What it does: Mobilizes the entire spine, increases awareness of your back position, and warms up the core muscles.
Main routine: 8 simple poses for stubborn stiffness
These poses can be done in order as a full routine, or you can choose 3–4 favorites on busy days. Aim to move through the sequence once a day, or at least 3 times per week.
1. Supine Knee-to-Chest (Apanasana)
- How:
- Lie on your back with legs extended.
- Draw one knee toward your chest, hands holding the shin or behind the thigh.
- The other leg can stay straight or bent with the foot on the floor.
- Hold: 6–8 breaths each side.
Benefits: Gently stretches the low back and glutes without compressing the spine. Great when your back feels “locked” after sitting.
2. Figure 4 Stretch (Reclined Pigeon Variation)
- How:
- Lying on your back, bend both knees, feet on the floor.
- Cross your right ankle over your left thigh, making a “4” shape.
- Reach hands behind the left thigh and gently draw it toward your chest.
- Keep your head and shoulders relaxed.
- Hold: 8–10 breaths each side.
Benefits: Targets the deep hip rotators and glutes, which often contribute to low-back tension when tight.
3. Hamstring Stretch with Strap
- How:
- On your back, loop a strap, belt, or towel around the ball of one foot.
- Extend that leg up toward the ceiling, keeping a soft bend in the knee if needed.
- The other leg can rest bent or straight on the floor.
- Gently draw the raised leg toward you until you feel a mild stretch.
- Hold: 8–10 breaths each side.
Benefits: Eases tight hamstrings, which can pull on the pelvis and strain the lower back.
4. Pelvic Tilts / Mini Bridges
-
How (Pelvic Tilt):
- Lie on your back with knees bent, feet hip-width apart.
- Exhale and gently press your low back toward the floor by engaging your lower abs and tilting your pelvis slightly.
- Inhale and release to neutral (not arched).
-
Reps: 10–12 slow tilts.
-
Progression (Mini Bridge):
- From neutral, press into your feet and gently lift your hips a few inches off the floor.
- Keep ribs soft and glutes lightly engaged.
- Lower slowly.
Benefits: Strengthens the core and glutes while teaching you to control pelvic position—key for long-term back pain yoga benefits.
5. Sphinx Pose (Gentle Backbend)
- How:
- Lie on your belly, legs extended, tops of feet on the floor.
- Place elbows under shoulders, forearms on the mat, palms down.
- Gently lift your chest, broadening across the collarbones.
- Keep the lower belly lightly engaged to avoid collapsing into your low back.
- Hold: 5–8 breaths.
Benefits: Strengthens the back extensors and opens the front body. Helpful if you sit slumped forward all day.
If you have known disc issues or back pain that worsens with extension, skip or modify this pose under professional guidance.
6. Thread the Needle (for Upper & Mid-Back)
- How:
- From all fours, inhale and reach your right arm up to the ceiling.
- Exhale and slide the right arm under the left, palm up, lowering your right shoulder and temple to the floor.
- Left hand can stay on the floor or reach overhead.
- Hold: 8–10 breaths each side.
Benefits: Rotates and stretches the upper and mid-back, relieving tension between the shoulder blades that often radiates into the lower back.
7. Low Lunge with Hip Flexor Stretch
- How:
- From all fours, step your right foot between your hands.
- Slide your left knee back until you feel a gentle stretch in the front of the left hip.
- Keep your torso upright, hands on your front thigh or on blocks.
- Avoid overarching the low back—lift through the chest instead.
- Hold: 6–8 breaths each side.
Benefits: Releases tight hip flexors, a major driver of low-back stiffness from prolonged sitting.
8. Seated Forward Fold (Easy Variation)
- How:
- Sit on the edge of a folded blanket so your hips are slightly elevated.
- Extend legs straight or keep a soft bend in the knees.
- Inhale, lengthen your spine; exhale, hinge slightly forward from the hips.
- Hands can rest on legs, a strap, or the floor.
- Hold: 6–8 breaths.
Benefits: Gently stretches the back line of the body—calves, hamstrings, and back—without forcing a deep forward bend.
If your lower back feels sensitive, keep this very mild or skip it and repeat the hamstring stretch with a strap instead.
Cool-down: reset and relax your back
Finish your back pain yoga routine with poses that signal your nervous system to calm down and allow muscles to release.
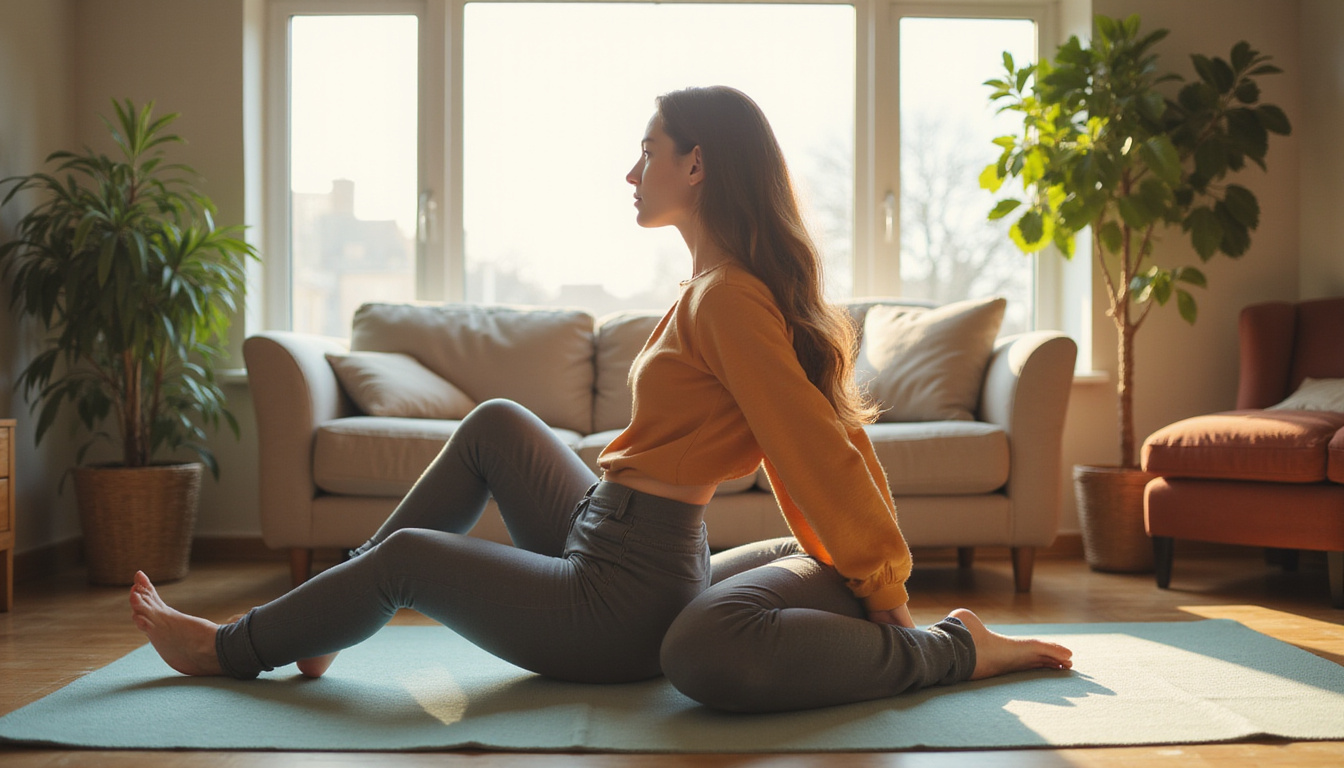
Reclined Twist (Gentle Version)
- How:
- Lie on your back, knees bent, feet on the floor.
- Shift your hips slightly to the right, then let both knees fall gently to the left.
- Arms open out to the sides like a “T” or goalposts.
- Turn your head either direction, or keep it neutral.
- Hold: 6–10 breaths each side.
Benefits: Releases tension in the low and mid-back, massages the spinal muscles, and can feel very soothing after a long day.
Constructive Rest
- How:
- Lie on your back with knees bent and feet on the floor, hip-width apart.
- Let your knees lean together, feet slightly wider if comfortable.
- Place a pillow under your head and maybe another under your knees for comfort.
- Hold: 2–5 minutes, focusing on slow, deep breathing.
Benefits: Allows the spine to settle into a neutral, supported position while your whole body relaxes.
Sample daily back pain yoga sequence (15–20 minutes)
Here’s how you can put it all together:
- Supported Child’s Pose – 1 minute
- Cat–Cow – 1–2 minutes
- Supine Knee-to-Chest – 2 minutes
- Figure 4 Stretch – 3 minutes
- Hamstring Stretch with Strap – 3 minutes
- Pelvic Tilts / Mini Bridges – 2–3 minutes
- Sphinx or Thread the Needle – 3 minutes (choose one or both briefly)
- Reclined Twist + Constructive Rest – 3–5 minutes
Consistent, gentle practice beats occasional, intense sessions. If time is limited, pick 3–4 poses that feel best and stick with those daily.
Everyday habits that boost your back pain yoga results
What you do outside the mat matters just as much:
- Break up sitting: Stand or walk for 2–3 minutes every 30–45 minutes.
- Check your desk setup: Screen at eye level, feet flat, hips slightly higher than knees.
- Walk regularly: Even 10–15 minutes a day can ease stiffness.
- Sleep smart: Use a supportive mattress and pillow; side sleepers often benefit from a pillow between the knees.
- Breathe and de-stress: Brief breathing exercises or short meditations reduce muscle tension.
Together with your daily routine, these habits help your back stay more mobile and less reactive over time.
FAQ: back pain yoga questions answered
1. Is yoga good for lower back pain every day?
Gentle, well-chosen yoga for back pain is often safe to do daily, especially when you focus on stretching, low-load strengthening, and relaxation. Avoid aggressive backbends or strong twists if you’re recovering from injury, and consult your provider if pain persists or worsens.
2. What are the best yoga poses for chronic back pain and stiffness?
For many people, the best yoga for chronic back pain includes: Child’s Pose, Cat–Cow, Figure 4 Stretch, hamstring stretch with a strap, Pelvic Tilts/Bridges, and a gentle Reclined Twist. These poses target tight hips, hamstrings, glutes, and the spinal muscles without overloading the spine.
3. Can beginners do yoga for back pain at home safely?
Yes, beginners can safely practice a simple back pain yoga routine at home if they move slowly, stay out of pain, and avoid extremes. Using props (pillows, blankets, straps) and sticking to beginner-friendly poses helps. If you have serious conditions like herniated discs or spinal stenosis, get clearance and guidance from a professional first.
Start your simple back pain yoga routine today
Stubborn stiffness doesn’t disappear overnight, but a consistent, gentle routine can transform how your back feels in just a few weeks. By spending 15–20 minutes a day on targeted stretches, light strengthening, and relaxation, you’re actively teaching your body to move with more ease and less pain.
Set a time—morning wake-up, after work, or before bed—and commit to this back pain yoga sequence for the next 10–14 days. Notice which poses feel best and adapt as you go. Your future self, with a freer, more comfortable back, is built one small session at a time.
If you’d like, tell me where and how your back hurts (upper, middle, or lower; sharp or dull; worse sitting or standing), and I can tailor this routine more specifically to your situation.