Hip Hinge: Fix Form, Prevent Pain, and Boost Power
The hip hinge is one of the most important movement patterns you can learn in the gym and in everyday life. Whether you’re deadlifting, picking something up off the floor, or jumping higher, a proper hip hinge protects your back, builds serious strength, and boosts athletic power. Yet it’s also one of the most commonly misunderstood and poorly executed movements.
This guide will walk you through what the hip hinge is, why it matters, how to fix your form, and how to use it to prevent pain and unlock more strength and power.
What Is a Hip Hinge?
A hip hinge is a movement pattern where your torso bends forward by rotating at the hips, not the lower back, while your spine stays neutral and your knees bend slightly. Think of it as “closing the door” at the hips.
Key features of a proper hip hinge:
- The movement happens primarily at the hips.
- The spine stays long and neutral (no rounding or over-arching).
- Knees are slightly bent, not locked, but not in a deep squat.
- Your weight stays over the mid-foot and heels.
- You feel the work in your glutes and hamstrings, not your lower back.
The hip hinge is the foundation of exercises like:
- Deadlifts (conventional, sumo, Romanian)
- Kettlebell swings
- Good mornings
- Hip thrusts and glute bridges (different angle, same pattern)
- Back extension variations
Mastering this pattern sets you up for safer, stronger lifts.
Why the Hip Hinge Matters for Strength and Longevity
1. Protects Your Lower Back
Most people bend over by rounding their spine instead of hinging at the hips. Over time, repeated flexion under load (like lifting boxes, kids, or barbells with a rounded back) can stress the discs and ligaments of the spine.
A correct hip hinge:
- Distributes load through the powerful glutes and hamstrings.
- Keeps your spine in a safer, neutral position.
- Reduces shearing forces on the lower back.
In fact, many physical therapists and strength coaches teach the hip hinge as a cornerstone for back health and injury prevention (source: NSCA).
2. Builds Serious Strength and Muscle
The hip hinge heavily trains the posterior chain: glutes, hamstrings, spinal erectors, and even the lats. These muscles are crucial for:
- Strong deadlifts and squats
- Sprinting speed
- Vertical and horizontal jumping
- Overall athletic performance
If you want stronger legs, a more powerful stride, or better performance in sports, you need a strong hip hinge.
3. Boosts Power and Explosiveness
The same motion that drives a hip hinge is what drives a powerful jump, sprint, or punch: explosive hip extension.
Learning to hinge efficiently helps you:
- Store elastic energy in the hamstrings.
- Transition from “loaded” to “explosive” hips.
- Generate more force quickly—key for athletes and anyone who wants to move powerfully and efficiently.
4. Transfers to Real-Life Movement
Everyday tasks are loaded with hip hinge patterns:
- Picking up groceries or a laundry basket
- Lifting a suitcase into a car
- Gardening and yard work
- Helping a child up from the floor
The better your hip hinge, the less likely you are to tweak your back doing everyday things.
Common Hip Hinge Mistakes (And How to Fix Them)
Before fixing your form, it helps to know what’s going wrong. Here are the most common hip hinge mistakes:
Mistake 1: Turning It into a Squat
Symptom: You bend your knees a lot, your hips drop straight down, and your chest stays too upright—basically performing a squat.
Fix:
- Think “hips back, not down.”
- Imagine someone is pulling your hips backward with a rope.
- Let your torso lean forward as your hips move back, while your shins stay more vertical.
Mistake 2: Rounding the Lower Back
Symptom: Your back curves like a “C” as you bend over; you feel strain in the lower back instead of tension in the hamstrings and glutes.
Fix:
- Before you move, brace your core as if preparing for a light punch.
- Keep your chest “proud” and your ribs stacked over your pelvis.
- Practice with a dowel (see drill below) to maintain a neutral spine.
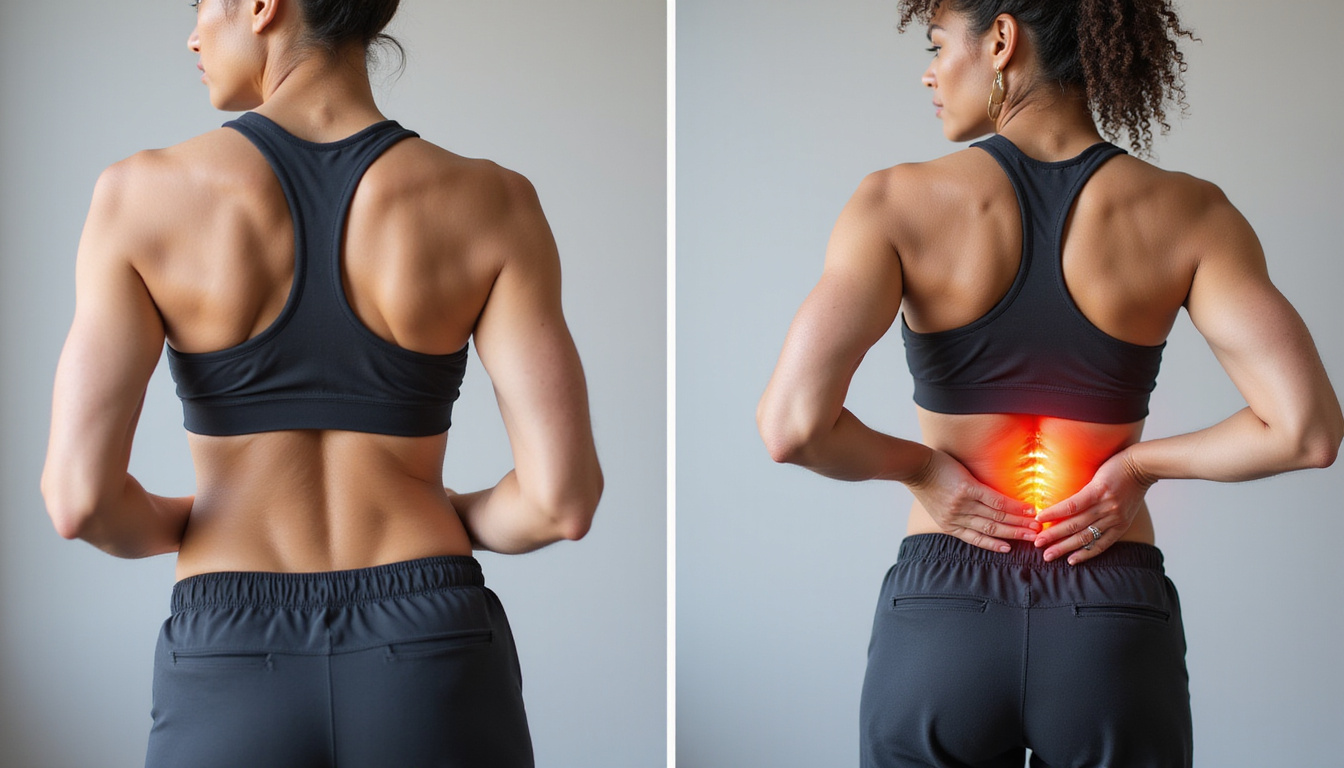
Mistake 3: Hyperextending the Back at the Top
Symptom: At the top of the hip hinge or deadlift, you lean too far back, arching through your lower back to lock out.
Fix:
- Finish by squeezing your glutes, not by leaning back.
- Imagine standing “tall” rather than “backward.”
- Keep ribs down over the pelvis—no flaring.
Mistake 4: Not Sitting Back Far Enough
Symptom: You feel everything in your quads and knees, not in your posterior chain; knees drift too far forward.
Fix:
- Practice tapping your hips against a wall behind you (wall tap drill).
- Your shins should stay relatively vertical.
- You should feel a deep stretch/tension in your hamstrings as you hinge.
Step-by-Step: How to Do a Perfect Hip Hinge
Here’s a simple sequence to teach your body the hip hinge pattern.
1. Set Your Stance
- Stand with feet about hip-width apart.
- Toes pointing forward or slightly turned out, based on comfort.
- Distribute your weight evenly across the full foot.
2. Brace and Align
- Stand tall with your ribs stacked over your pelvis.
- Gently brace your core as if someone might poke your belly.
- Keep your chin tucked slightly; gaze a few feet in front of you on the floor.
3. Initiate with the Hips
- Push your hips straight back, as if closing a car door with your butt.
- Let your torso tip forward naturally as the hips move back.
- Keep a soft bend in the knees—don’t lock them, but don’t drop into a squat.
4. Find Your Range
- Continue hinging until:
- You feel a strong, but comfortable tension in your hamstrings.
- Your back is still neutral (no rounding).
- You don’t have to touch the floor—your range improves with mobility and practice.
5. Drive Through the Floor and Stand Tall
- Press your feet into the floor, especially through the mid-foot and heels.
- Drive the hips forward to return to standing.
- Finish by squeezing your glutes at the top without leaning back.
Useful Hip Hinge Drills to Fix Form
These simple drills can dramatically improve your hip hinge technique.
1. Wall Hip Hinge Drill
- Stand facing away from a wall, about 8–12 inches in front of it.
- Hinge at the hips, reaching your butt back to lightly tap the wall.
- Keep your torso leaning forward and shins mostly vertical.
- If you can’t reach the wall, scoot closer and practice.
This teaches you to move the hips back instead of squatting down.
2. Dowel or Broomstick Drill
- Hold a dowel or broomstick along your spine with:
- One hand behind your neck
- One hand behind your lower back
- Maintain three contact points: back of head, mid-back, and tailbone.
- Hinge at the hips while keeping all three points in contact.
- If one point loses contact, your spine is flexing or extending too much.
This helps engrain a neutral spine during the hip hinge.
3. Kettlebell “Hike” Position
- Stand over a kettlebell with feet hip-width apart.
- Hinge at the hips and grab the handle with both hands.
- Your shoulders should be slightly in front of the kettlebell, hips back, shins vertical.
- Practice returning to standing and lowering back into this same hinge position.
This sets up a good start position for deadlifts and swings.
Best Hip Hinge Exercises for Strength and Power
Once your pattern is dialed in, use these exercises to build serious strength and power.
Romanian Deadlift (RDL)
- Start standing with a barbell or dumbbells at hip height.
- Hinge at the hips, sliding the weight down the front of your thighs.
- Keep the bar close, spine neutral, and shins mostly vertical.
- Stop when you feel a strong hamstring stretch, then drive back up.
RDLs are excellent for teaching and strengthening the hip hinge with control.
Conventional Deadlift
- Stand with feet roughly hip-width, bar over mid-foot.
- Hinge at the hips and bend the knees slightly to grab the bar.
- Keep lats tight (think “squeeze oranges in your armpits”).
- Push the floor away, driving through your legs and hips to stand tall.
This is a full-body strength staple built upon a strong hip hinge.
Kettlebell Swing
- Set up in the “hike” position described above.
- Hike the bell back between your legs, then explosively extend your hips.
- Let the bell float up to chest height; don’t “lift” with your arms.
- Allow it to fall and re-hinge, keeping your back neutral.
Swings quickly teach explosive hip extension and are fantastic for power and conditioning—provided your hinge mechanics are sound.
How the Hip Hinge Prevents Pain
Lower Back Pain
A strong, well-practiced hip hinge:
- Reduces load on the lumbar spine when lifting and bending.
- Encourages glute and hamstring dominance rather than back dominance.
- Reinforces safe patterns for daily activities like lifting, cleaning, or sports.
Knee Stress
Because the hip hinge keeps shins more vertical and uses hips more than knees, it can:
- Decrease stress on the knee joint.
- Offer a leg-strengthening option for people with some types of knee pain (assuming clearance from a medical professional).
Hip Health and Mobility
Practicing the hip hinge under control helps:
- Improve hip flexion and extension mobility.
- Maintain joint integrity and strength through a functional range.
- Balance front and back sides of the body, which supports better posture.
Programming Hip Hinge Work Into Your Training
To get the most from hip hinge exercises:
-
Beginner:
- 2–3 sessions per week
- Focus on drills (wall hinge, dowel drill)
- Add light RDLs or kettlebell deadlifts (2–3 sets of 8–10 reps)
-
Intermediate:
- 2 sessions per week of heavier hinges (deadlifts/RDLs)
- 1 session per week of power hinges (kettlebell swings)
- Use moderate to heavy loads with excellent form (3–5 sets of 3–6 reps for strength; 8–12 reps for hypertrophy)
-
Advanced/Performance:
- Periodize heavy deadlifts, RDLs, and swings
- Rotate variations (sumo, trap bar, single-leg RDLs)
- Emphasize power with swings and jumps paired with lighter hinge work
Always prioritize quality of movement over load. If your hip hinge breaks down, the weight is too heavy or the volume is too high.
FAQ: Hip Hinge Basics and Variations
1. What muscles does the hip hinge work the most?
The hip hinge primarily targets the glutes, hamstrings, and lower back (spinal erectors), along with support from the core and lats. It’s one of the best patterns for training the entire posterior chain.
2. How can I improve my hip hinge mobility and flexibility?
Combine hinge practice with hamstring and hip mobility work: dynamic leg swings, 90/90 hip drills, and controlled RDLs with light weight. Consistent practice of the hip hinge itself—staying within a pain-free range—often improves mobility over time.
3. What are some good hip hinge exercises for beginners?
Start with bodyweight hip hinges, wall hinge drills, and kettlebell or dumbbell deadlifts from an elevated surface. Progress to Romanian deadlifts and eventually full deadlifts and kettlebell swings once your technique is solid.
Mastering the hip hinge is one of the most valuable investments you can make in your strength, performance, and long-term joint health. If you want to lift more weight, protect your back, and build powerful, athletic movement, start by dialing in your hinge mechanics today.
Begin incorporating the drills and exercises above into your next workout, focus on slow, precise reps, and steadily increase load as your form improves. Your future strength, resilience, and confidence under the bar—and in everyday life—will thank you.