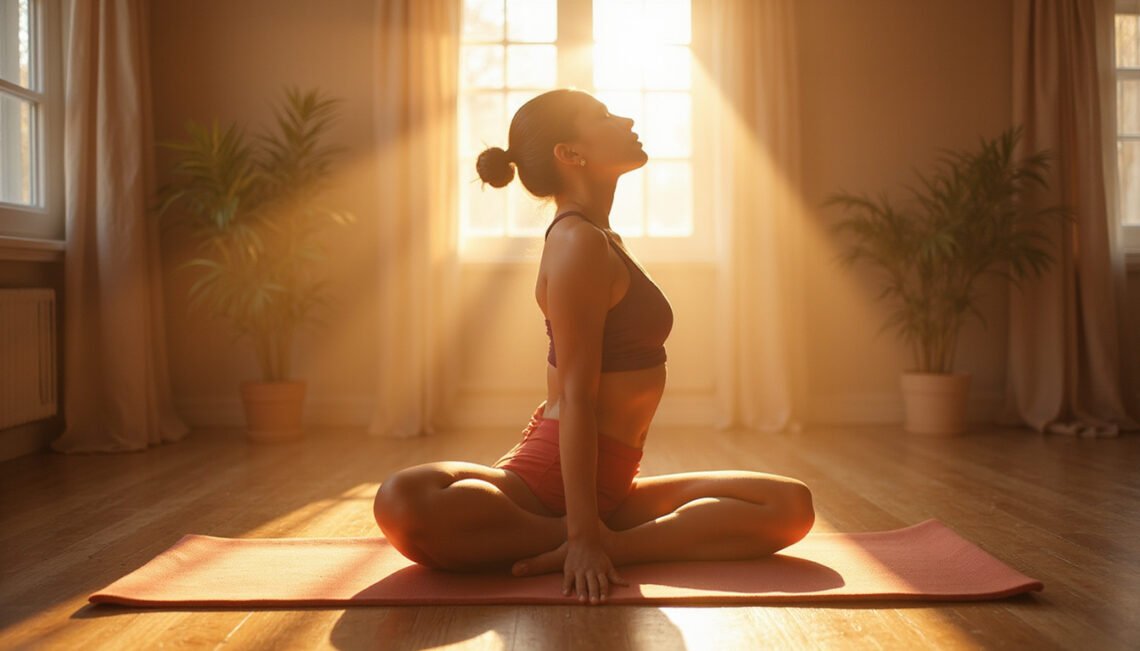
If your hips feel chronically tight, your lower back aches after sitting, or your legs feel like concrete when you run, pigeon pose may be the missing key in your routine. This classic yoga posture is known for unlocking deep hip tension, easing sciatic discomfort, and restoring freedom of movement. Done correctly, it can be transformative; done carelessly, it can aggravate knees and low back. This guide walks you through the real “secrets” to practicing pigeon pose safely and effectively.
Why Pigeon Pose Is a Game-Changer for Your Hips
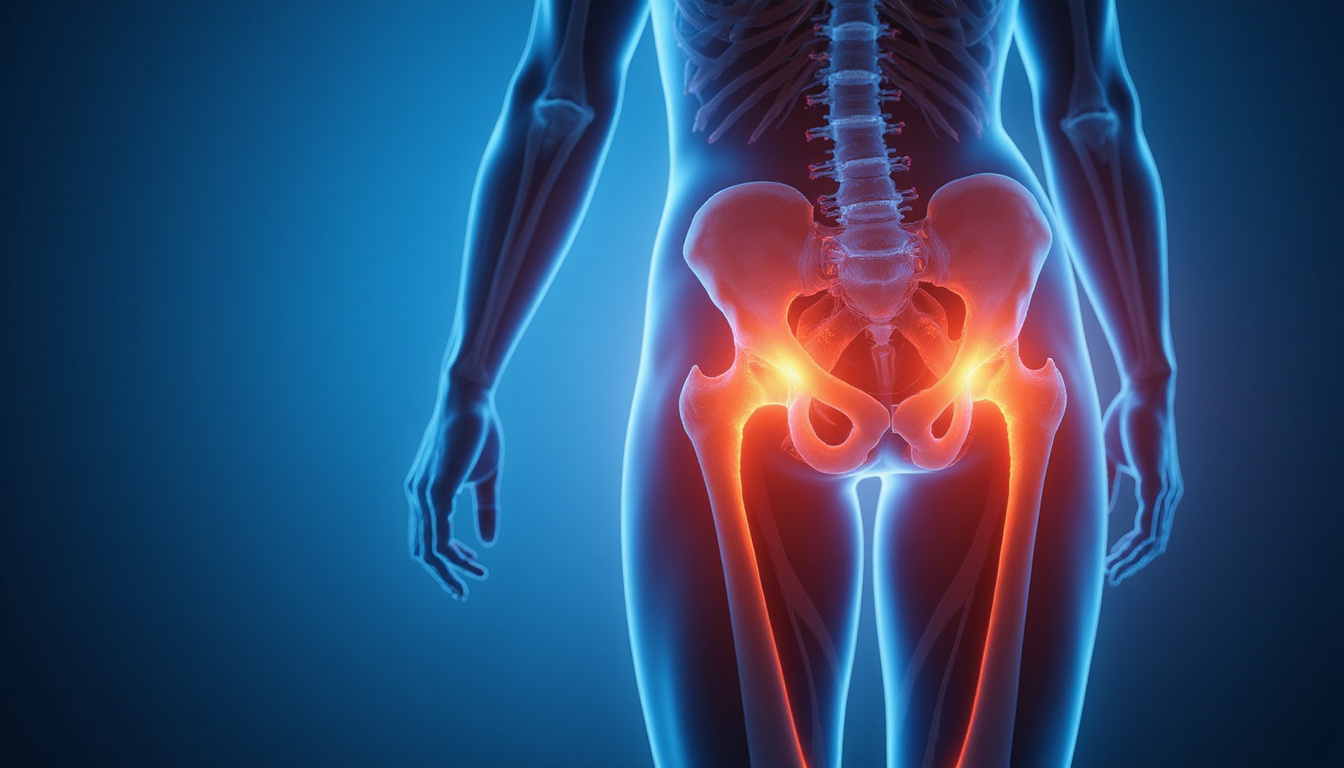
Pigeon pose (Eka Pada Rajakapotasana in Sanskrit) is a deep hip opener that targets:
- Glutes and piriformis
- Outer hips (hip external rotators)
- Hip flexors and quadriceps (on the back leg)
- Lower back and even some core stabilization
Key benefits of pigeon pose
-
Deep hip flexibility
Pigeon pose takes the front leg into external rotation and the back leg into extension. This dual action helps lengthen tight hip muscles that get shortened from long hours of sitting. -
Potential sciatic pain relief
Pigeon targets the piriformis muscle, which can irritate the sciatic nerve when overly tight. Gentle, consistent stretching can help ease sciatic-related discomfort for many people (though not all; more on safety later). -
Improved posture and spinal health
When hips are tight, the lower back often compensates. By improving hip mobility, pigeon pose can reduce strain on the lumbar spine and support a more upright posture. -
Enhanced athletic performance
Runners, cyclists, lifters, and desk workers all struggle with hip tightness. Pigeon pose can increase range of motion for deeper squats, longer strides, and smoother overall movement. -
Stress reduction and emotional release
Many people feel emotional intensity when holding pigeon pose. The hips are a classic “storage area” for stress and tension. Slow breathing in the pose can activate the parasympathetic nervous system and promote relaxation (source: Harvard Health).
Step-by-Step Guide: How to Do Pigeon Pose Safely
1. Start from downward-facing dog
- Begin in Downward-Facing Dog with hands shoulder-width and feet hip-width apart.
- Take a few breaths to lengthen your spine and warm up the backs of your legs.
2. Bring your front leg forward
- On an inhale, lift your right leg up behind you.
- Exhale and bring your right knee toward your right wrist.
- Place your right shin on the mat at a comfortable angle—anywhere between parallel to your hips and angled back toward your left hip. There is no “perfect” angle; pain-free is the rule.
3. Set your back leg
- Slide your left leg straight back, top of the foot on the floor.
- Look back and ensure your left leg is straight behind you, not drifting off to one side.
- Press your left thigh and the top of your left foot gently into the mat to create stability.
4. Square your hips
This is one of the biggest secrets to getting the most from pigeon pose.
- Imagine your hip bones as headlights pointing straight forward.
- Gently draw your right hip back and your left hip slightly forward.
- If you feel like you’re rolling onto your right side, place a folded blanket, block, or pillow under your right hip for support.
5. Lengthen your spine before folding
- Walk your hands back toward your hips.
- Inhale to lift your chest, lengthen your spine, and broaden your collarbones.
- You can stay upright (this already deeply stretches the hip flexor of the back leg) or prepare to fold.
6. Fold forward mindfully
- Exhale and walk your hands forward.
- Lower to your forearms, a block, or fully down to the mat if accessible.
- Rest your forehead on stacked fists, a block, or the mat to relax your neck and jaw.
Hold for 5–10 slow breaths or up to 2 minutes if comfortable. Then switch sides.
Common Mistakes in Pigeon Pose (and How to Fix Them)
Pigeon pose is often forced in group classes. Avoid these common errors to stay safe and maximize benefits.
1. Forcing the shin to be parallel
Myth: Your front shin must be perfectly parallel to the front of the mat.
Reality: For most bodies, that’s too intense.
Fix:
Let your front heel creep closer to your opposite hip until the stretch is strong but comfortable. Over time, as mobility improves, the shin may naturally move more forward.
2. Collapsing into the front hip
Dropping all your weight into the front hip can strain the knee and overstretch ligaments.
Fix:
Use a block, bolster, or folded blanket under your front hip so your pelvis is supported. This allows the muscles—not the joints—to receive the stretch.
3. Ignoring knee pain
Sharpness or pinching in the front knee is a red flag.
Fix:
- Back off immediately.
- Adjust the angle of your front shin.
- Place more support under your hip.
- If pain persists, switch to a supine (on your back) figure-four stretch instead.
4. Overarching (or rounding) the lower back
Without awareness, your spine can take the brunt of the pose.
Fix:
- When upright, gently engage your core and lengthen through the crown of your head.
- When folding, imagine your belly moving toward your thigh first, then your chest, keeping your lower back long.
Variations and Modifications of Pigeon Pose
Not every version of pigeon pose works for every body. Here are options so you can customize the posture.
Supported pigeon pose (for sensitive knees and hips)
- Place a bolster or firm pillow under your front hip and thigh.
- You can also put a folded blanket under your front knee.
- Stay upright or fold only partway.
This dramatically reduces strain and is great for beginners or those with joint sensitivity.
Reclined pigeon pose (figure-four stretch)
If traditional pigeon pose bothers your knees or lower back, try this instead:
- Lie on your back with knees bent.
- Cross your right ankle over your left thigh, near the knee.
- Thread your right hand through the space between your legs and clasp your hands behind your left thigh.
- Gently draw your legs toward your chest until you feel a stretch in your right hip.
This variation offers similar benefits to pigeon pose with much less joint load.
Chair pigeon pose (for office or limited mobility)
- Sit tall in a chair with both feet flat.
- Cross your right ankle over your left thigh.
- Flex your right foot and gently press your right knee down.
- Hinge forward slightly from the hips to deepen the stretch.
This is perfect for quick breaks during your workday.
King pigeon (advanced backbend variation)
Once you have a strong foundation in pigeon pose and healthy back mobility:
- Bend the back knee, reaching the foot toward your head.
- Hold the foot with one or both hands, or use a strap.
This is an advanced posture and should only be explored gradually, ideally with guidance from an experienced teacher.
How Long to Hold Pigeon Pose (and How Often to Practice)
For flexibility and pain relief, consistency matters more than intensity.
- Beginners: Start with 20–30 seconds per side.
- Intermediate: Work up to 60–90 seconds per side.
- Advanced / Yin practice: 2–3 minutes per side, provided there’s no pain or joint discomfort.
Aim to include pigeon pose 3–5 times per week, especially if you sit a lot, run, or lift weights. Pair it with other hip openers, like low lunge and lizard lunge, for a balanced routine.
Safety Tips: When to Skip or Modify Pigeon Pose
While pigeon pose can be deeply therapeutic, it’s not for everyone.
You should avoid or modify traditional pigeon if you have:
- Recent or chronic knee injuries
- Significant hip labrum issues or hip replacement (follow your surgeon’s guidance)
- Acute sciatica flare where forward folding increases pain
- Unexplained sharp pain in the hip, groin, or knee
In these cases:
- Use reclined or chair pigeon variations.
- Stay in a pain-free range—you should feel stretch, not strain or pinch.
- When in doubt, consult a physical therapist or qualified yoga therapist before adding deep hip openers.
A Simple Pigeon Pose Prep Sequence
To get more out of pigeon pose and reduce risk, warm up with:
-
Cat–Cow (1–2 minutes)
Mobilizes the spine and gently engages the core. -
Low Lunge (30–60 seconds each side)
Opens hip flexors and quads. -
Lizard Lunge (30–60 seconds each side)
Deepens hip opening in a more controlled way. -
Downward-Facing Dog (5–8 breaths)
Lengthens the back body and stabilizes shoulders. -
Pigeon Pose (start with 20–30 seconds each side)
Finish with a gentle supine twist and short rest.
Quick Reference: Pigeon Pose Alignment Checklist
Use this short checklist each time you set up pigeon pose:
- [ ] Front shin at a comfortable angle (no knee pain)
- [ ] Support (block/blanket) under front hip if pelvis is tipping
- [ ] Back leg straight and extended, toes pointing back
- [ ] Hips gently squared toward the front
- [ ] Spine long, not collapsing into low back
- [ ] Breath steady and smooth
- [ ] Stretch is strong but never sharp or pinching
FAQ: Pigeon Pose and Hip Flexibility
1. Is pigeon pose good for hip flexors?
Yes, pigeon pose stretches the hip flexors of the back leg (especially the psoas and rectus femoris). To emphasize this, stay more upright instead of folding forward and gently press the top of your back foot into the mat while lifting your chest.
2. How long should I hold pigeon pose for tight hips?
For tight hips, start with 20–30 seconds and build slowly to 1–2 minutes per side, as long as there’s no pain. Consistency—doing pigeon pose several times per week—is more impactful than holding very long in a single session.
3. What if pigeon pose hurts my knees or lower back?
If pigeon pose causes knee or back pain, stop and switch to reclined pigeon (figure-four) or a chair variation. Lower back discomfort often improves by elevating the front hip on support and focusing on lengthening the spine rather than forcing depth.
Unlocking deep hip flexibility and real, lasting pain relief doesn’t require extreme contortion—it requires smart, consistent practice. Pigeon pose, when approached with awareness and respect for your body’s limits, can be a powerful ally in that process. Start where you are: use props, choose the variation that feels safe, and build up your hold time gradually.
Set aside 5–10 minutes today to try one version of pigeon pose from this guide. Notice how your hips, back, and even your mood feel afterward. Then, commit to returning to it a few times each week. With patient repetition, you’ll feel your hips open, your posture improve, and your daily movements become lighter and more comfortable.