The clamshell exercise is a simple-looking movement that can transform the way your hips feel and function. Whether you’re dealing with knee pain, lower-back tightness, hip discomfort, or you just want stronger glutes for better performance, this small exercise can deliver big results. When done correctly and consistently, it helps build hip stability, improve posture, prevent injuries, and even enhance athletic power.
Below, you’ll learn exactly why the clamshell works, how to do it properly, and smart progressions to keep getting stronger.
Why the Clamshell Exercise Matters for Hip and Knee Health
Most people spend hours sitting every day, which can lead to weak glute muscles and tight hip flexors. That imbalance often shows up as:
- Achy lower back
- Knees that “collapse inward” when you walk, run, or squat
- Hip pain or tightness during daily activities
- Reduced balance and stability
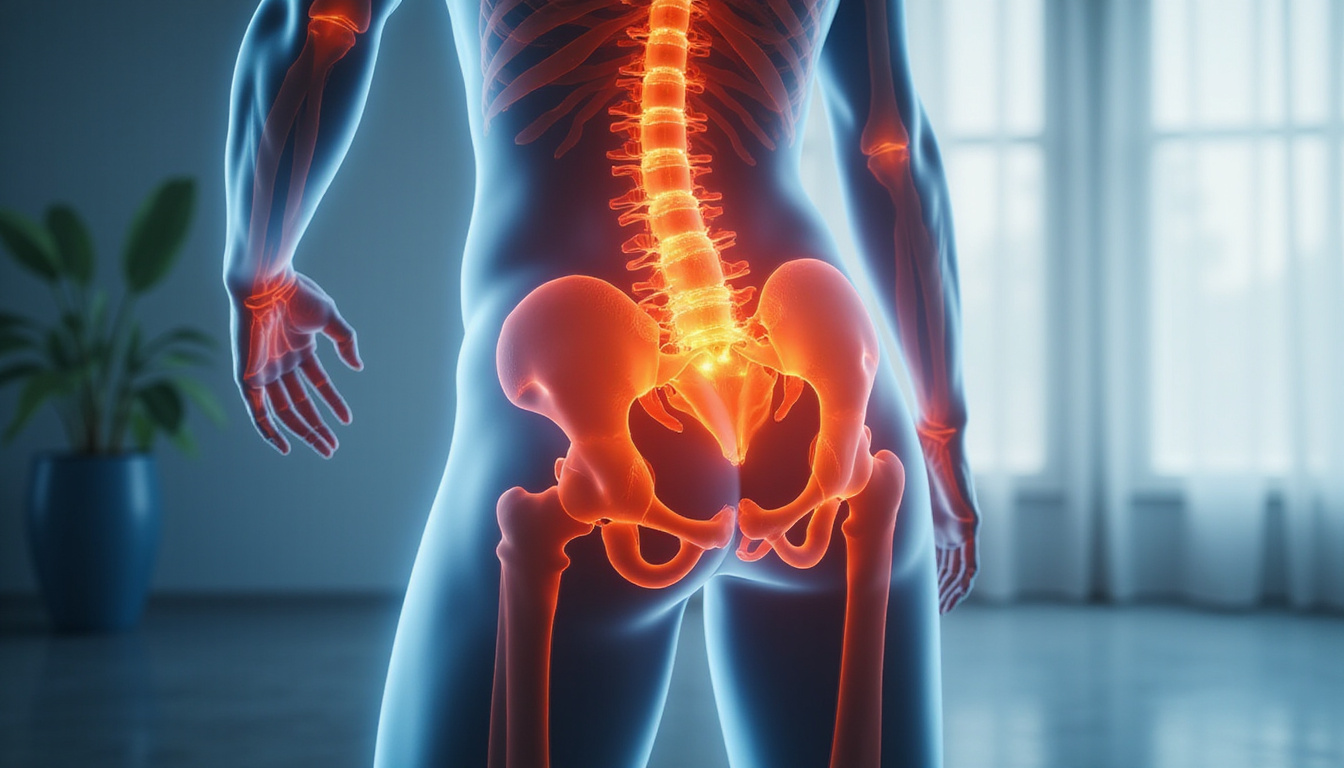
The clamshell exercise targets a group of muscles deep in your glutes—especially the gluteus medius and minimus—that are crucial for stabilizing your hips. These muscles help keep your pelvis level, guide the alignment of your knees, and control leg movement during walking, running, and climbing stairs.
Stronger hip stabilizers can mean:
- Less stress on the knees
- Better support for your lower back
- More efficient movement in sports and workouts
- Reduced risk of overuse injuries
For many physical therapists, the clamshell is a foundational exercise for rehab and prevention of hip and knee problems (source: American Council on Exercise).
Key Benefits of the Clamshell Exercise
1. Strengthens the Gluteus Medius
The gluteus medius sits on the outside of your hip and plays a huge role in side-to-side stability. When it’s weak, your knee can cave inward (valgus collapse), placing extra stress on ligaments and cartilage. The clamshell exercise specifically hones in on this often-neglected muscle.
2. Supports Lower-Back Health
If your glutes aren’t doing their job, your lower back often picks up the slack. Over time, that compensation can lead to chronic tightness or pain. By building stronger hips, clamshells help your glutes share the load, easing pressure on your lumbar spine.
3. Improves Balance and Athletic Performance
Every time you take a step, land from a jump, or change direction, your gluteus medius fires to stabilize your leg and pelvis. Athletes and active people use the clamshell to improve:
- Single-leg stability
- Running mechanics
- Jumping and cutting control
- Overall hip strength and power
4. Great for Beginners and Rehab
The clamshell is low-impact and can be done lying down, making it a go-to option for:
- People returning from injury
- Those with joint pain
- Beginners building a base of strength
You can easily adjust difficulty with band resistance or subtle position changes.
How to Perform the Clamshell Exercise with Perfect Form
Proper technique is essential. Done sloppily, the clamshell stops targeting your glutes and shifts load to your lower back or hip flexors. Use this step-by-step guide:
-
Starting Position
- Lie on your side with your legs stacked, head supported by your lower arm or a pillow.
- Bend your knees to about 90 degrees and bring them slightly in front of your body.
- Keep your hips stacked directly on top of each other and your heels in line with your spine.
-
Engage Your Core
- Gently brace your core like you’re preparing for a light poke in the stomach.
- This helps keep your spine neutral and prevents rolling backward.
-
Open the “Shell”
- Keeping your feet together, slowly lift your top knee toward the ceiling.
- Only lift as high as you can without:
- Rolling your hips back
- Letting your pelvis tip forward or backward
- Arching your lower back
-
Pause and Squeeze
- At the top, pause for 1–2 seconds.
- Focus on feeling the contraction in the side of your hip and upper butt, not in your lower back.
-
Close with Control
- Slowly lower your knee back to the starting position with control.
- Don’t let it flop down or rest completely between reps—keep a bit of tension.
-
Reps and Sets
- Aim for 2–3 sets of 10–15 reps per side.
- Rest 30–60 seconds between sets.
Common Mistakes and How to Fix Them
Even small deviations in form can reduce the effectiveness of the clamshell exercise. Watch out for these:
-
Rolling your hips backward
If your top hip rocks backward as you lift your knee, you’re using momentum instead of your glutes.
Fix: Imagine your top hip is pressed against a wall—don’t let it leave the wall. -
Moving too fast
Speed often leads to swinging legs and poor control.
Fix: Count “1–2 up, 1–2 hold, 1–2 down” for each rep. -
Letting your feet separate
That changes the mechanics and takes emphasis off the right muscles.
Fix: Keep your heels gently pressed together throughout. -
Feeling it in your lower back or hip flexors
That usually means poor alignment or core engagement.
Fix: Reset your position, engage your core, and slightly tuck your tailbone before starting.
Progressions: Make the Clamshell Exercise More Challenging
Once the basic version feels easy, it’s time to progress. Increasing difficulty helps you keep building strength and resilience.
1. Banded Clamshells
Place a mini resistance band around your thighs, just above your knees.
- Set up exactly as the basic clamshell.
- The band adds resistance as you open your knees, forcing your glutes to work harder.
- Start with a light band and progress to medium or heavy over time.
2. Elevated Clamshells
Lift your feet off the floor by a few inches (still stacked), or rest them on a small block or step.
- This changes the angle of pull and increases demand on the gluteus medius.
- Maintain the same focus on not rolling your hips.
3. Side-Lying Hip Abduction Combo
Combine clamshells with straight-leg hip abduction:
- Perform 8–10 clamshells.
- Then straighten your top leg and lift it toward the ceiling for 8–10 leg raises.
- That combo trains both the deep stabilizers and outer glutes more completely.
4. Tempo and Isometric Holds
You can increase time under tension without adding equipment:
- Use a 3–4 second lift, 2–3 second hold at the top, 3–4 second lower.
- Or hold the top position for 20–30 seconds after your last rep.
How to Add Clamshells into Your Routine
You don’t need a full workout dedicated to the clamshell exercise. A few minutes, several times per week, goes a long way.
Here’s one simple way to integrate them:
-
Warm-up for lower-body workouts
Do 1–2 sets of clamshells before squats, lunges, or deadlifts to “wake up” your glutes. -
Rehab or prehab days
On recovery days, combine clamshells with other hip stabilizers like bridges and side planks. -
At-home mobility and pain-prevention routine
Use them alongside hip stretches (e.g., figure-4 stretch, hip flexor stretch) to improve both strength and mobility.
Sample Mini-Routine (5–10 Minutes)
- 10–15 Clamshells per side
- 10–15 Glute Bridges
- 20–30 seconds Side Plank per side
- Optional: 10–12 Banded Clamshells per side
Repeat 1–2 rounds.
Who Should Prioritize the Clamshell Exercise?
The clamshell is valuable for almost everyone, but especially useful for:
- Runners and cyclists: Helps control hip and knee alignment, reducing risk of IT band and patellofemoral pain.
- People with knee valgus (knees collapsing inward): Builds the muscles that keep your knees tracking properly.
- Desk workers: Counteracts prolonged sitting and weak glutes.
- Older adults: Supports balance and reduces fall risk by improving lateral stability.
- People recovering from hip, knee, or back injuries: Often recommended in physical therapy (with professional guidance).
If you have existing pain or a recent injury, consult a healthcare or rehab professional before starting or progressing the clamshell exercise.
When You’ll Start to See Results
Most people feel their glutes working during the very first session. In terms of noticeable functional improvements:
- 2–4 weeks: Better muscle activation, less “wobble” during single-leg tasks.
- 4–8 weeks: Stronger hips, improved knee control, possible reduction in mild aches.
- 8+ weeks: More stable, powerful lower body and better resilience to high-impact activities.
Consistency matters more than intensity. A few focused sets, 3–4 times per week, usually beats an occasional long session.
Quick Checklist: Are You Doing Clamshells Correctly?
Use this list during your next set:
- [ ] Hips stacked (not rolling back)
- [ ] Core lightly braced
- [ ] Spine neutral, no arching or twisting
- [ ] Feet stay together
- [ ] Slow, controlled movement
- [ ] Burn felt on the side of your hip/upper glute—not in your lower back
If you can tick all boxes, you’re getting maximum benefit from the clamshell exercise.
FAQ: Clamshell Exercise and Hip Strength
1. What muscles does the clamshell exercise work?
Primarily the gluteus medius and gluteus minimus on the side of your hip, with some involvement from the gluteus maximus and deep external rotators. These muscles stabilize your pelvis and help control thigh rotation and abduction.
2. Is the clamshell good for hip pain and knee pain?
Yes, when done correctly and as part of a well-rounded program, clamshells can help reduce certain types of hip and knee pain by improving hip stability and alignment. However, if you have significant or persistent pain, get assessed by a physical therapist or medical professional for a tailored plan.
3. How often should I do clamshell exercises for best results?
Most people benefit from 2–4 sessions per week, performing 2–3 sets of 10–15 reps per side. You can use them as part of your warm-up, cool-down, or a dedicated hip-strengthening routine.
Stronger, more stable hips don’t require fancy gym machines or long workouts. The clamshell exercise is a compact, powerful tool you can use anywhere—on your living room floor, before a run, or at the gym—to protect your knees, support your back, and build resilient glutes.
Start with the basic version, master your form, then progress with bands and more challenging variations. Commit to just a few focused minutes several times per week. If you’re ready to move better and hurt less, add clamshells to your routine today and let your hips feel the difference.