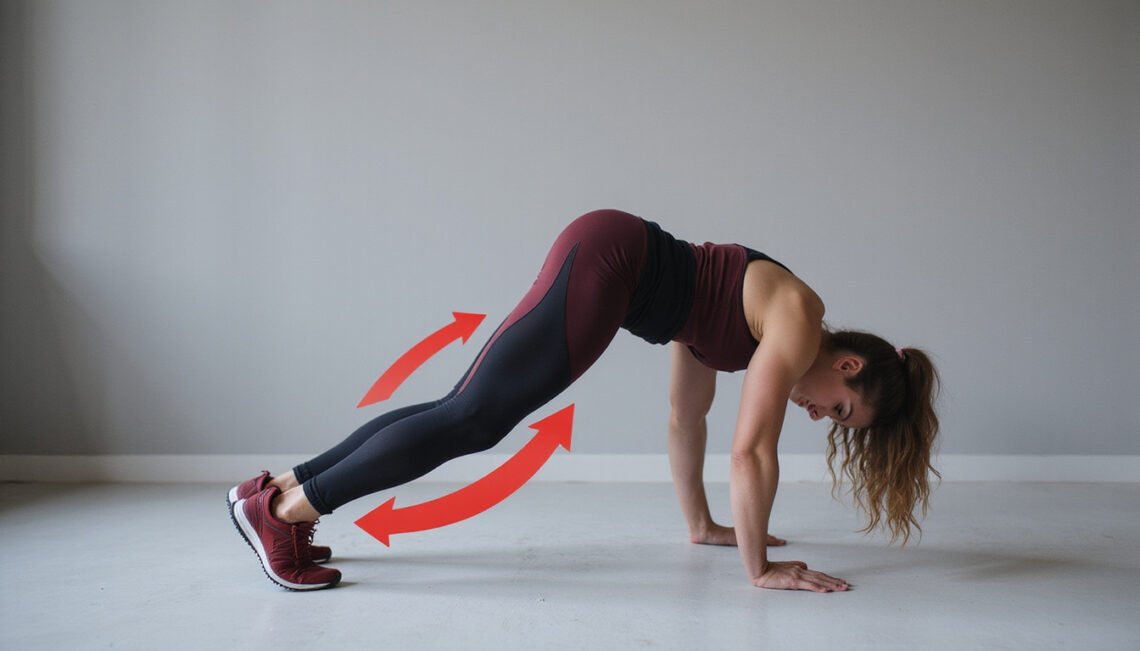
If you’re doing hamstring curls regularly but still not seeing stronger, more powerful legs, the problem probably isn’t the exercise itself—it’s how you’re doing it. Small form mistakes can completely change which muscles are working, increase injury risk, and stall your progress.
This guide breaks down the most common hamstring curl errors, how they sabotage your leg strength, and exactly what to do instead.
Why Hamstring Curls Matter More Than You Think
The hamstrings are a group of three muscles (biceps femoris, semitendinosus, semimembranosus) that run along the back of your thighs. They’re responsible for:
- Bending your knees
- Extending your hips (helping with sprinting, jumping, deadlifting)
- Stabilizing your knees and pelvis during movement
Strong hamstrings support:
- Better squat and deadlift numbers
- Faster sprint speed and acceleration
- Reduced risk of knee injuries (especially ACL tears) (source: NCBI)
Hamstring curls—whether lying, seated, standing, or with bands—are one of the most direct ways to overload and grow these muscles. But only if you perform them correctly.
Mistake #1: Letting Your Lower Back Arch Off the Bench
On lying machine hamstring curls, the most common error is hyperextending your lower back. As you curl the weight, your hips lift and your lower back arches.
Why it’s a problem
- Shifts tension away from the hamstrings and into the lower back
- Reduces the range of motion at the knee
- Increases shear stress on the lumbar spine
- Encourages you to use momentum instead of muscle
How to fix it
- Press your hip bones firmly into the pad before you start
- Brace your core as if preparing for a punch
- Squeeze your glutes lightly to keep the pelvis stable
- If your hips still pop up, the weight is too heavy—drop the load and focus on control
Think of your torso and hips as “cemented” to the bench. Only your lower legs should be moving.
Mistake #2: Rushing Through Reps With Momentum
Hamstring curls are often treated like a throwaway accessory: people fly through them at the end of a workout, bouncing the weight up and down.
Why it’s a problem
- Momentum does the work instead of the hamstrings
- You skip the most productive part of the movement: the eccentric (lowering) phase
- Less time under tension = weaker growth and strength stimulus
- Technique breaks down and compensating muscles kick in
How to fix it
Use a simple tempo guideline:
- 1 second to curl up (concentric)
- 1 second hold at the top, squeezing the hamstrings
- 2–3 seconds to lower under control
You can even think: up – squeeze – two, three down on every rep. If you can’t control the negative for at least 2 seconds, reduce the weight.
Mistake #3: Turning Hamstring Curls Into a Calf Exercise
Watch closely in the gym and you’ll see people performing hamstring curls by primarily moving at the ankle: they’re plantarflexing (pointing the toes) hard and using their calves.
Why it’s a problem
- Overemphasizes the gastrocnemius (calf) instead of the hamstrings
- Reduces tension where you want it—back of the thigh
- May cause calf cramping before the hamstrings are even fatigued
How to fix it
- Keep your ankles relaxed or slightly dorsiflexed (toes pulled toward your shins)
- Focus on bending the knee, not pointing the toes
- Visualize your heel trying to touch your glute, not your toes pressing into the pad
You’ll likely feel less calf involvement and more deep burn in the hamstrings when you get this right.
Mistake #4: Using Partial Range of Motion
You’ve probably seen it: heavy stack loaded, but the person only moves the pad a few inches. While partial reps have a time and place, most people rely on them because the weight is too heavy.
Why it’s a problem
- Limits strength gains through the full joint range
- Undertrains end ranges where hamstrings are vulnerable (like during sprints)
- Reduces muscle fiber recruitment and overall growth stimulus
How to fix it
On most hamstring curls:
- Start with your legs almost fully straight (a small bend of 5–10° is fine to protect the joint).
- Curl until you can’t go any higher without your hips lifting or your back arching.
- Lower the weight back to the start under control.
If you can’t use (at least approximately) full range with good form, the load is too heavy for your current strength level.
Mistake #5: Letting Your Knees Flare or Drift Around
Knee position often gets ignored, but it dramatically affects which fibers of the hamstrings and adductors are working.
Common issues
- Knees flaring out wide on lying curls
- Knees collapsing inward on seated curls
- Knees shifting forward/back as you get tired
Why it’s a problem
- Reduces consistent tension on the hamstrings
- Increases stress on the knee joint
- Can aggravate existing knee discomfort
How to fix it
- Start with your knees aligned with your hips and ankles—hip-width is ideal for most
- Maintain that line throughout the motion; don’t let the knees wander
- For machines with thigh pads, snug them up so your legs can’t swing
Some people benefit from thinking “squeeze the pads inward” slightly to keep everything aligned and stable.
Mistake #6: Going Too Heavy and Chasing Ego Over Tension
Because hamstring curls are often done on a stable machine, it’s tempting to pile on plates or select a high pin position. The movement still “happens,” but the hamstrings aren’t truly doing the work.
Signs you’re too heavy
- Hips shoot up or pelvis tips
- You’re jerking and swinging every rep
- Range of motion gets shorter each set
- You feel more in your lower back than your hamstrings
How to fix it
- Choose a weight you can control for 8–15 clean reps, depending on your program
- Stop 1–2 reps short of complete failure for most sets
- Judge your sets by tension and burn in the hamstrings, not the number on the stack
Remember: muscles don’t read numbers; they respond to mechanical tension. Prioritize form, not ego.
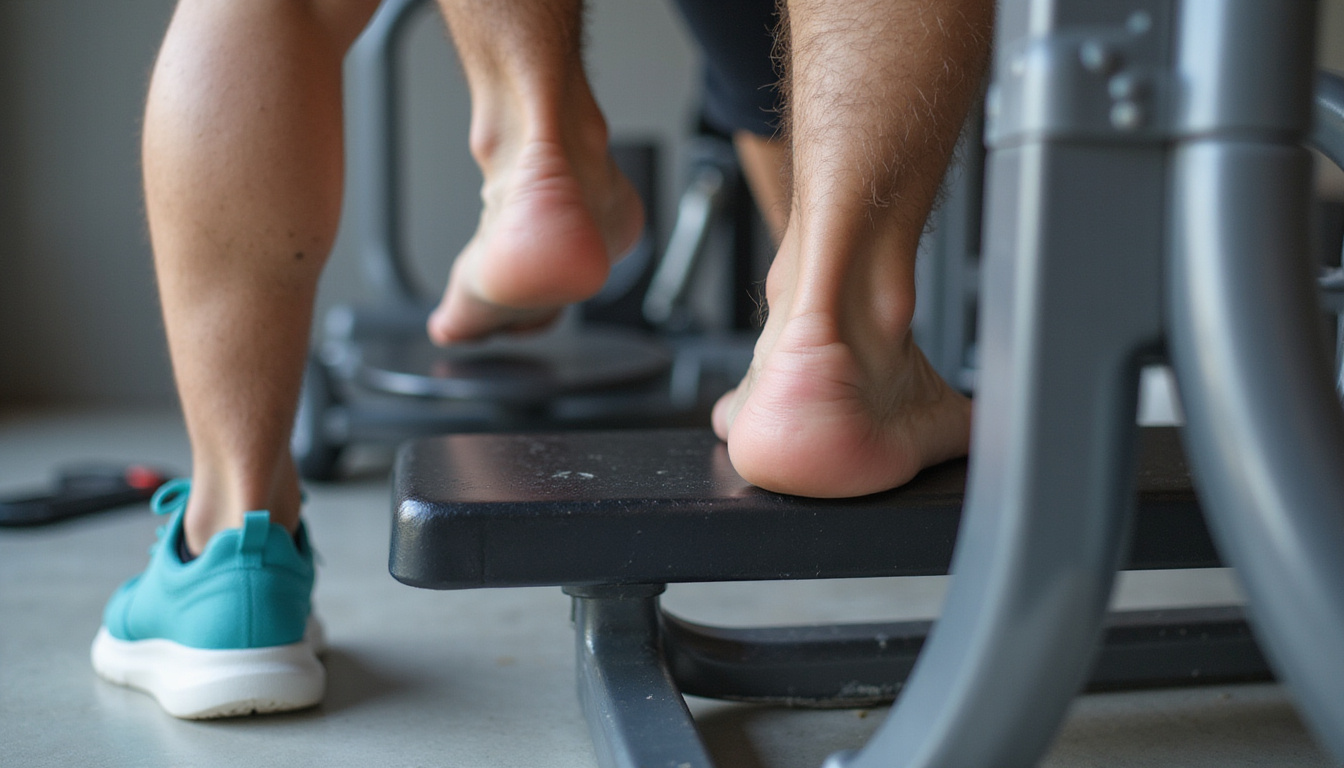
Mistake #7: Ignoring Setup on the Hamstring Curl Machine
Bad setup can ruin the exercise before the first rep. The machine should fit your body, not the other way around.
Key setup points for lying hamstring curls
- Pad position: The roller pad should sit just above your heel, on the lower part of the calf—too high up the calf shortens the lever and changes tension.
- Knee pivot: The machine’s pivot point should align roughly with your knee joint.
- Bench length: Adjust so your knees are just over the edge of the bench, not way out in space or jammed into the padding.
Key setup points for seated hamstring curls
- Back pad: Your lower back should be supported, chest up, not slumped forward.
- Knee line: Match your knees to the machine’s pivot.
- Ankle pad: Just above the heel, not mid-shin.
A 20–30 second setup will dramatically increase how effective your hamstring curls feel.
Mistake #8: Neglecting Seated and Hip-Flexed Variations
Only doing lying hamstring curls means you’re mostly training the hamstrings in a more extended hip position (hip neutral or slightly extended). The hamstrings cross both the hip and knee, so hip angle matters.
Why it’s a problem
- You miss training the hamstrings hardest in lengthened positions (hip flexed + knee extended)
- That lengthened-tension stimulus is powerful for strength and hypertrophy
- Can leave you vulnerable in positions similar to sprinting or decelerating
How to fix it
Include both:
- Seated hamstring curls: Hips flexed, knees extended—great for lengthened tension.
- Lying or standing curls: Slightly different fiber emphasis and angles.
Over a week, aim to hit at least one hip-flexed and one hip-neutral/extended hamstring curl variation.
Mistake #9: Poor Foot and Toe Position Awareness
Small changes in foot position affect which parts of the hamstrings are biased.
Common issues
- Toes randomly rotating out or in each rep
- Ankles wobbling through the motion
- No intention behind foot angle
How to fix it
Use foot angle intentionally and consistently:
- Toes straight ahead: Balanced hamstring recruitment
- Toes slightly in: More medial hamstrings (semitendinosus/semimembranosus)
- Toes slightly out: More lateral hamstrings (biceps femoris)
Choose one for a set and keep it locked in, rather than letting your feet drift around.
Mistake #10: Treating Hamstring Curls as an Afterthought
Many lifters tack on a few random sets of hamstring curls at the very end of leg day, rushing through so they can leave. Volume, effort, and consistency all end up too low.
Why it’s a problem
- Hamstrings never get enough quality work to grow
- Imbalances develop between quads and hamstrings
- Increased injury risk in sport and heavy lower-body lifting
How to fix it
- Program hamstring curls with intention:
- 2–4 hamstring-focused exercises per week
- 6–12 hard sets per week (depending on your level and goals)
- Place them earlier in the session at least sometimes, not always last
For example:
- Heavy hinge (RDLs)
- Squat/leg press
- Seated hamstring curls (3–4 sets)
- Leg extensions / other accessories
On another lower-body day, you might use lying or standing hamstring curls.
A Simple Checklist for Better Hamstring Curls
Use this quick list during your next session:
- Is my back neutral and my hips glued to the pad?
- Am I moving slowly and under control, especially on the way down?
- Are my ankles relaxed or slightly dorsiflexed, not aggressively pointing?
- Am I using a full, comfortable range of motion?
- Do my knees stay aligned with my hips and ankles?
- Does the machine setup fit my body (pads and pivots in the right place)?
- Do I feel the burn and tension in my hamstrings, not my lower back or calves?
If you can answer “yes” to these, you’re on track to get the most out of your hamstring curls.
FAQ: Hamstring Curl Technique and Training
1. Are hamstring curls good for overall leg strength?
Yes. While compound lifts like squats and deadlifts are foundational, hamstring curls directly isolate and strengthen the hamstrings, improving knee stability, sprint performance, and support for heavy lower-body training. They’re an important accessory for well-rounded leg strength.
2. How often should I do hamstring curl exercises?
Most people benefit from doing some form of hamstring curl 2–3 times per week, with 2–4 sets per session. Adjust volume based on soreness, recovery, and your overall training load.
3. What’s the best hamstring curl form for beginners?
For beginners, the seated hamstring curl machine is often easiest to learn: your spine is supported, it’s easy to control, and you can focus on slow, full-range knee flexion. Keep your back against the pad, align your knees with the pivot, and move through a controlled 8–15 rep range.
Dialing in your hamstring curls is one of the simplest ways to unlock more leg strength, better performance, and greater injury resistance. Don’t waste another workout on sloppy, rushed reps that barely hit the muscle you’re trying to train.
Next time you’re in the gym, lower the weight, tighten your setup, and apply the fixes above. If you want a more structured approach, build a leg program that intentionally pairs smart hamstring curls with compounds like Romanian deadlifts and squats—then stick with it for 8–12 weeks. Your strength, stability, and confidence under the bar will tell you you’re on the right track.