Hip abduction is one of the most underrated movement patterns in fitness and rehab—yet it’s essential for strong, stable, pain‑free hips. Whether you’re a runner, lifter, desk worker, or someone dealing with cranky knees or lower back, training the muscles that drive hip abduction (primarily your gluteus medius and minimus) can dramatically improve the way you move, feel, and perform.
Below, you’ll learn why hip abduction matters, how to do it safely, and 9 proven moves you can plug into your routine starting today.
What is hip abduction—and why does it matter?
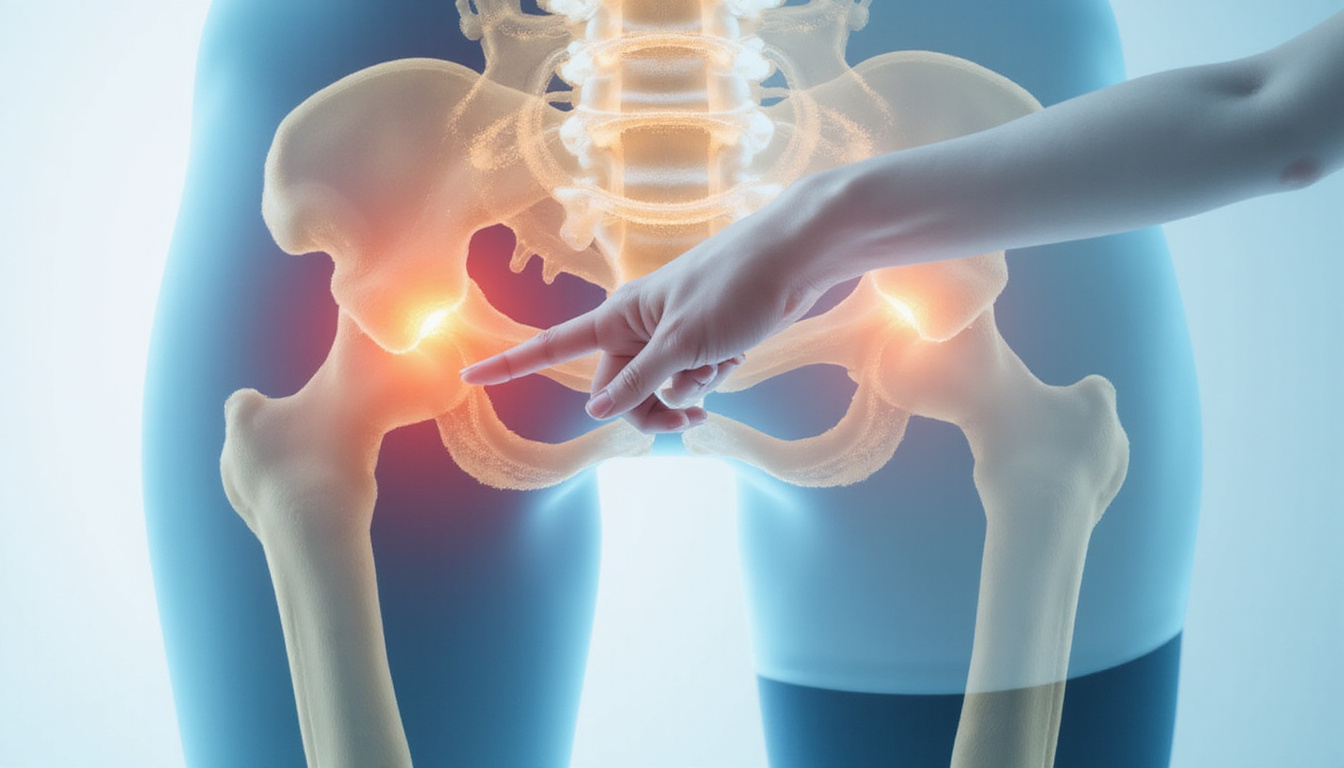
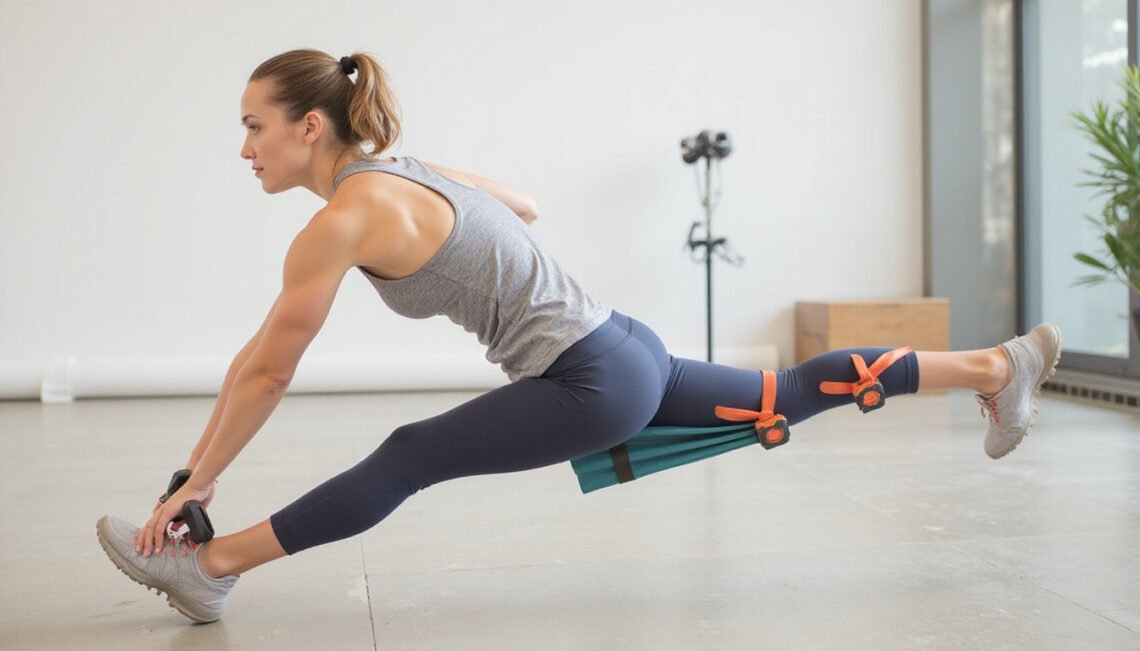
Hip abduction is the movement of your leg away from the midline of your body. Imagine standing tall and lifting one leg straight out to the side—that’s hip abduction.
The muscles that power this motion, especially the gluteus medius on the outer hip, have several key jobs:
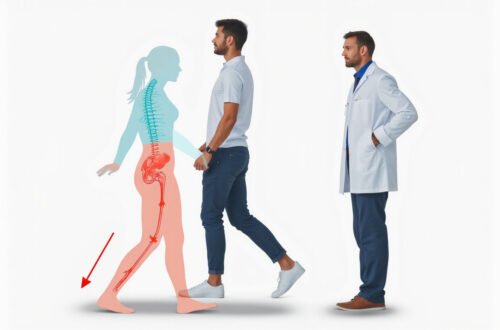
- Stabilizing your pelvis when you walk, run, climb stairs, or stand on one leg
- Keeping knees aligned and reducing excessive inward collapse (valgus)
- Supporting lower back health by controlling pelvic position
- Driving lateral movement in sports (cutting, shuffling, changing direction)
Weak hip abductors are linked with issues like knee pain, IT band syndrome, and even some forms of low back discomfort (source: American Academy of Orthopaedic Surgeons).
Training hip abduction directly helps:
- Improve balance and single-leg stability
- Reduce injury risk in sports and daily life
- Enhance power in squats, deadlifts, and running
- Make hips feel more “locked in” and resilient
How to train hip abduction safely
Before jumping into the 9 moves, keep a few guidelines in mind:
- Move in a pain-free range. Mild muscle burn is fine; sharp or joint pain is not.
- Control the eccentric (lowering) phase. That’s where a lot of strength is built.
- Don’t chase huge ranges right away. Quality reps beat big, sloppy motions.
- Progress gradually. Increase resistance, pause time, or volume—not all at once.
For most people, 2–3 hip abduction–focused sessions per week fit well into a balanced training plan.
9 hip abduction moves for stronger, pain‑free hips
You don’t need all 9 in a single workout. Pick 2–4 that fit your level and equipment, and rotate over time.
1. Side-lying hip abduction (classic starter move)
Best for: Beginners, rehab, warm‑ups
How to do it:
- Lie on your side, legs stacked, bottom arm under your head.
- Keep hips slightly forward and stacked, core braced.
- Lift the top leg straight up ~30–45° without rotating your toes upward.
- Pause, then lower with control.
Form tips:
- Keep toes slightly turned down to target the glute medius instead of hip flexors.
- Avoid swinging the leg; slow and controlled is key.
Programming: 2–3 sets of 12–20 reps per side.
2. Standing hip abduction with band
Best for: Functional strength, balance, quick home workouts
How to do it:
- Loop a mini band around your ankles (or just above knees for lighter resistance).
- Stand tall, holding a wall or chair for light support.
- Shift weight onto one leg and keep that knee soft.
- Move the working leg out to the side, leading with your heel.
- Pause briefly, then return with control.
Form tips:
- Don’t lean your torso away; stay as upright as possible.
- Focus on feeling the outer hip, not the front of the thigh.
Programming: 2–4 sets of 10–15 reps per side.
3. Clamshells (with or without band)
Best for: Targeting deep hip stabilizers, early-stage rehab
How to do it:
- Lie on your side with knees bent ~90°, heels in line with your butt.
- Stack hips and shoulders; keep a small gap at your waist (neutral spine).
- Keeping feet together, open the top knee like a clamshell.
- Stop before hips roll backward; pause, then lower.
Progression: Add a mini band just above the knees to increase resistance.
Programming: 2–3 sets of 12–20 reps per side.
4. Banded lateral walk (“monster walk”)
Best for: Dynamic hip abduction, athletic warm‑ups
How to do it:
- Place a loop band around ankles or just above knees.
- Stand with feet hip‑width, slight knee and hip bend (mini squat).
- Step sideways with one foot, then bring the other in, keeping constant band tension.
- Take 8–15 steps one direction, then return.
Form tips:
- Keep toes pointed forward or slightly turned in.
- Don’t let your knees cave inward as you step.
Programming: 2–3 rounds of 8–15 steps per direction.
5. Side plank with hip abduction (advanced stability)
Best for: Core and hip integration, lateral chain strength
How to do it:
- Set up in a side plank on your forearm, body in a straight line, feet stacked.
- Lift hips so your body forms a straight line from head to heels.
- Keeping hips high, lift the top leg into abduction.
- Lower the leg with control while holding the plank.
Regressions:
- Bend bottom knee (modified side plank).
- Perform side plank holds first, then add leg movement later.
Programming: 2–3 sets of 6–10 leg lifts per side (or 20–30 second holds if you’re just starting).
6. Cable or machine hip abduction
Best for: Precise loading and progressive overload in the gym
Cable version:
- Attach an ankle strap to a low cable.
- Stand sideways to the stack, working leg attached to cable.
- Hold the machine lightly for balance.
- Move the working leg out to the side in a smooth arc.
- Control the return and avoid slamming the stack.
Machine version:
- Sit with pads against the outer thighs and push outward against resistance.
- Keep spine neutral and avoid excessive arching or slumping.
Programming: 3–4 sets of 8–15 reps.
7. Single‑leg squat to lateral tap
Best for: Functional strength, knee alignment, balance
How to do it:
- Stand on one leg with a slight bend in the knee.
- Perform a shallow single‑leg squat, sitting hips back.
- As you squat, reach the free leg out to the side and lightly tap the floor.
- Return to standing, bringing the leg back under you.
This move trains hip abduction on the stance leg as it controls knee position, plus mobility on the tapping leg.
Form tips:
- Knee should track roughly over middle toes—not collapsing inward.
- Keep chest up and core braced.
Programming: 2–3 sets of 8–12 reps per leg.
8. Side‑lying hip abduction with internal rotation (“toe‑down raise”)
Best for: Really dialing in the glute medius
This is a tweak on the classic side‑lying hip abduction that often hits the target better.
How to do it:
- Lie on your side as in move #1.
- Slightly roll the top hip forward so it’s directly stacked.
- Turn the top foot so your toes point slightly toward the floor (internal rotation).
- From here, lift the leg up and back just a bit, then lower slowly.
Why it works: Internal rotation reduces hip flexor and TFL dominance, making your glute medius work harder.
Programming: 2–3 sets of 10–15 strict reps per side.
9. Curtsy lunge with lateral drive
Best for: Athletic strength and dynamic hip control
How to do it:
- Stand tall with feet hip‑width.
- Step one leg diagonally back and across behind the front leg into a curtsy position, bending both knees.
- Push through the front heel and outer hip to return to standing, driving that hip into strong abduction as you stand tall.
- Repeat all reps on one side, then switch.
Form tips:
- Keep front knee tracking over toes, not collapsing inward.
- Only go as deep as your hips and knees comfortably allow.
Programming: 2–3 sets of 8–10 reps per side (bodyweight or holding light dumbbells).
How to program hip abduction into your week
A simple structure:
-
Warm‑up (2–3x/week):
- 1–2 sets of banded lateral walks or clamshells
- 1–2 sets of side‑lying hip abduction
-
Strength work (2–3x/week):
Choose 2–3 from below and rotate weekly:- Standing band hip abduction
- Side plank with hip abduction
- Cable/machine hip abduction
- Single‑leg squat to lateral tap
- Curtsy lunge with lateral drive
-
Volume guidelines:
- Beginners: ~6–8 total sets per week per leg
- Intermediate: ~10–14 sets per week per leg
- Advanced: ~14–18+ sets per week per leg (if hip stability is a priority)
Common hip abduction mistakes to avoid
Paying attention to a few details can significantly boost your results and protect your joints:
- Leaning the torso too much. If you lean away from the working leg, you reduce the work on the hip. Keep your trunk as neutral as possible.
- Letting the front of the hip dominate. Toes pointing up often makes hip flexors take over; think “heel leads,” toes slightly down or neutral.
- Moving too fast. The lowering portion (eccentric) is gold for strength—take at least 2–3 seconds.
- Training only one pattern. Don’t rely solely on the hip abduction machine; mix banded work, side‑lying drills, and standing moves.
- Ignoring pain signals. Pushing through joint pain can make things worse. Adjust range, resistance, or exercise choice.
If you have a history of hip, knee, or back injury, it’s smart to clear new exercises with a qualified health professional.
Quick FAQ on hip abduction training
1. Is hip abduction good for knee pain?
Yes, strengthening hip abductors can be very helpful for certain types of knee pain, especially when the knee collapses inward during squats, running, or stairs. By improving hip abduction strength, the thigh bone stays better aligned, reducing stress on the knee.
2. How often should I do hip abductor exercises?
Most people benefit from hip abduction exercises 2–3 times per week. You can use lighter banded work in warm‑ups more frequently, and heavier cable/machine hip abduction or single‑leg work on lower‑body strength days.
3. What’s the difference between hip abduction and adduction exercises?
Hip abduction moves the leg away from your body’s midline and targets outer hip muscles (like the glute medius). Hip adduction brings the leg toward the midline and trains inner thigh muscles. Both matter, but hip abduction is often more neglected and more critical for pelvic and knee stability.
Start building stronger, pain‑free hips today
You don’t need fancy equipment or an hour‑long routine to transform your hip stability. Start with just 2–3 of these hip abduction moves, done consistently a few times a week, and pay attention to your form, control, and how your body feels.
Over the next few weeks, you can expect:
- More stable knees and hips when you walk, run, or lift
- Less “wobbly” feeling on one leg
- Stronger, more powerful lower‑body movements
- A real shot at reducing nagging hip or knee discomfort
Pick one move for warm‑up, one for focused strength, and one challenging option to grow into. Commit to 4–6 weeks of consistent hip abduction training—and if you want a tailored progression based on your current ability, ask for a personalized 4‑week hip stability plan and we’ll map it out step by step.