Gluteal Tendinopathy: Top Rehabilitation Tips for Lasting Pain Relief
Gluteal tendinopathy is one of the most common causes of pain on the outside of the hip, particularly in adults over 40 and active individuals who walk, run, or stand a lot. It can be frustratingly stubborn, disturbing sleep, limiting walking distance, and making stairs or single‑leg activities painful. The good news: with the right understanding and a structured plan, gluteal tendinopathy can improve significantly and often resolve.
This guide explains what’s really going on, what to avoid, and the best rehabilitation strategies to achieve lasting pain relief.
What Is Gluteal Tendinopathy?
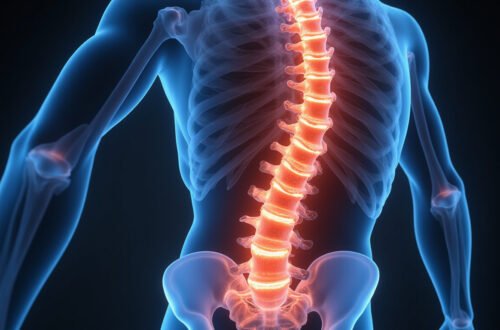
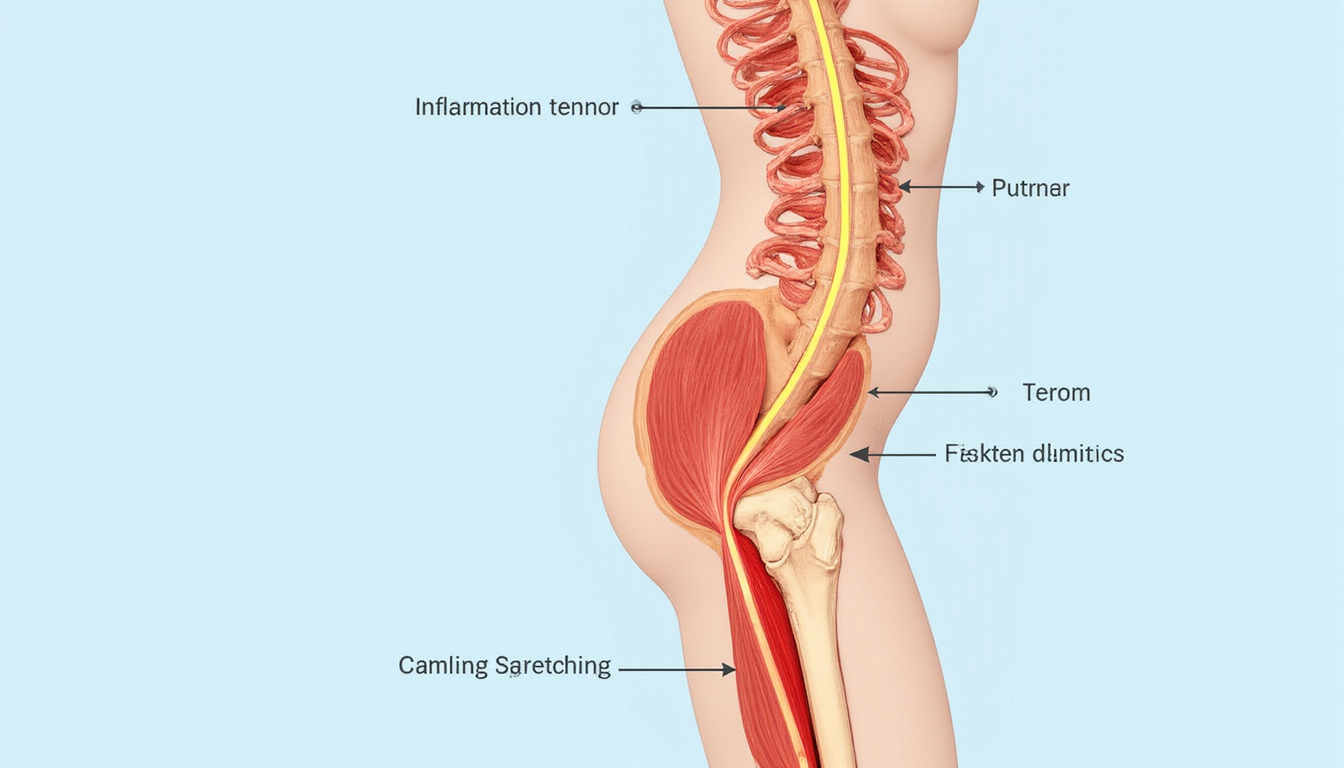
Gluteal tendinopathy is a condition affecting the tendons of the gluteus medius and/or gluteus minimus muscles where they attach to the greater trochanter (the bony bump on the outside of your hip). These tendons help keep your pelvis stable when you stand on one leg, walk, or run.
Common Symptoms
Typical signs and symptoms include:
- Pain on the outside of the hip, often tender to touch
- Pain lying on the affected side (or sometimes the other side) in bed
- Discomfort when walking, climbing stairs, or standing on one leg
- Pain or weakness during side‑lying leg lifts or hip abduction exercises
- Sometimes radiating pain down the outside of the thigh (but usually not past the knee)
Unlike arthritis, gluteal tendinopathy pain is usually more on the outer soft tissues than deep inside the joint. It also tends to be aggravated by sustained compressive positions, like sitting with legs crossed or standing with hip pushed out to the side.
Why Gluteal Tendinopathy Develops
Gluteal tendinopathy usually results from a mix of overload and compression over time.
Key Contributing Factors
- Sudden increase in activity: New walking or running program, hills, or stairs
- Hormonal changes: More common in peri‑ and post‑menopausal women
- Biomechanics: Excessive hip drop, knee collapse inward, or weak gluteal muscles
- Prolonged positions: Standing with weight on one hip, leg crossing, side‑lying positions that compress the tendon
- Previous lower limb issues: Knee or foot problems that alter gait can load the hip tendon more
Research indicates that tendinopathy reflects a failed healing response in the tendon rather than simple “inflammation,” so rest alone is rarely enough. Instead, tendons respond best to graded loading: the right amounts of targeted exercise at the right time, along with reducing aggravating compression (source: Journal of Orthopaedic & Sports Physical Therapy).
Step 1: Reduce Compression and Calm the Pain
Before you can strengthen effectively, you need to create a calm environment for the tendon.
Avoid Positions That Squash the Tendon
Try to minimize:
- Sitting with legs crossed (especially crossing the painful leg)
- Standing with your hip “hanging” out to the side
- Sitting on low, soft couches that increase hip adduction
- Side‑lying directly on the painful hip
- Deep stretches that pull the knee across the body (ITB or piriformis‑style stretches)
Simple Modifications That Help
- Sleep:
- If lying on the affected side, use a soft mattress or add a topper and place a thick pillow between your knees to keep hips apart.
- Many people do better lying on the non‑painful side, again with a pillow between the knees.
- Standing:
- Stand with weight evenly distributed, or slight bias to the non‑affected side while you recover.
- Keep pelvis level, avoid leaning into one hip.
- Sitting:
- Choose a slightly higher, firmer chair.
- Keep knees hip‑width apart; avoid letting them fall inward or crossing.
Pain Relief Options
These don’t fix the underlying issue, but they can make rehab easier:
- Ice or heat packs (whichever feels better) for 10–15 minutes
- Short‑term use of anti‑inflammatory medication if advised by your doctor
- Temporarily reducing aggravating activities (long walks, hills, stairs) while maintaining some gentle movement
Step 2: Build Hip Strength with Targeted Exercises
The cornerstone of lasting relief from gluteal tendinopathy is progressive strengthening of the gluteus medius and minimus, plus overall hip and pelvic stability. Aim to exercise most days, but adjust intensity so pain remains manageable.
A helpful rule of thumb:
- During exercise: pain ≤ 3/10 is usually acceptable
- After exercise and the next morning: pain should be back to baseline, not worse
Phase 1: Isometric (Static) Strength
Isometric exercises load the tendon without too much movement, which can help reduce pain sensitivity and set a solid foundation.
1. Side‑lying Isometric Hip Abduction (Supported)
- Lie on your non‑painful side, hips stacked, knees bent slightly.
- Place a pillow or folded towel between your knees.
- Gently squeeze knees against the pillow as if trying to separate them without moving much.
- Hold 20–30 seconds, repeat 5–6 times.
- Aim: 1–2 times per day.
2. Wall Press Isometric
- Stand side‑on to a wall, painful hip closest.
- Bend that knee slightly and press the outside of your knee into the wall as if trying to push it away.
- Keep pelvis level; feel work in the side of your hip.
- Hold 20–30 seconds, 5–6 repetitions.
Phase 2: Controlled Dynamic Strength
Once isometrics are comfortable, progress to movements that work the hip through range without high impact.
3. Side‑lying Hip Abduction
- Lie on your non‑painful side, bottom leg bent, top leg straight.
- Keep top leg in line with body, toes pointing slightly forward or down.
- Lift the top leg 20–30 cm, then slowly lower.
- 2–3 sets of 8–12 reps, 3–4 times per week.
4. Bridge with Band
- Lie on your back, knees bent, feet hip‑width apart.
- Place a resistance band around your thighs, just above knees.
- Gently push knees outward against the band (no pain) as you lift your hips into a bridge.
- Pause at the top, then lower slowly.
- 2–3 sets of 8–12 repetitions.
Phase 3: Functional and Single‑Leg Strength
Progress here as symptoms allow and as your base strength improves.
5. Sit‑to‑Stand or Box Squat
- Sit on a chair or box that allows a comfortable depth.
- Stand up using both legs, focusing on keeping knees aligned with toes and pelvis level.
- Slowly lower back down.
- 2–3 sets of 8–12 repetitions.
If tolerated, progress to a slightly lower chair, or control the lowering phase more slowly.
6. Single‑Leg Stance with Hip Control
- Stand on the affected leg near a wall or counter for support if needed.
- Keep pelvis level and knee aligned; avoid letting hip drop or knee fall inward.
- Hold 20–30 seconds, repeat 3–5 times.
Over time, progress by adding light weights or moving your free leg/arms while maintaining pelvic control.
A Sample Weekly Rehab Structure
This is a general example. Always adapt according to your pain levels and capacity.
-
Daily
- Avoid aggravating positions (crossing legs, “hip hanging”)
- 1–2 rounds of isometrics if helpful for pain
- Light walking on flat ground, as tolerated
-
3–4 Days Per Week (Strength Focus)
- Warm‑up: 5–10 minutes of easy walking or stationary cycling
- Isometrics (wall press or side‑lying) – 3–5 holds
- Side‑lying hip abduction – 2–3 sets × 8–12 reps
- Bridge with band – 2–3 sets × 8–12 reps
- Sit‑to‑stand or box squats – 2–3 sets × 8–12 reps
- Single‑leg stance – 3–5 holds × 20–30 seconds
-
2–3 Days Per Week (Cardio / Walking)
- Gradual, symptom‑guided walking or low‑impact cardio (bike, elliptical)
- Start with time/distance that doesn’t flare symptoms; increase by about 10% per week if tolerated
Step 3: Return to Walking, Running, and Sports
Many people with gluteal tendinopathy want to get back to walking long distances, hiking, running, or sports. The key is graded exposure.
When to Start Progressing Activity
You’re usually ready to progress if:
- Everyday activities cause minimal or no pain
- You can perform core strength exercises without significant flare‑ups
- Morning pain or stiffness is mild and settling
Progression Guidelines
- Walking:
- Increase time or distance in small steps (5–10 minutes or ~10% per week).
- Prefer flat surfaces first; add hills later.
- Running:
- Start with a walk–jog program (e.g., 1 minute jog, 1–2 minutes walk, repeated 10 times).
- Avoid large jumps in volume or pace.
- Keep pain at or below 3/10 and ensure it settles by the next day.
- Sport‑specific drills:
- Add side‑stepping, gentle lunges, and direction changes once straight‑line running or brisk walking is comfortable.
If pain spikes and stays elevated the next morning, reduce volume or intensity and hold at the lower level for a bit longer.
Step 4: Lifestyle and Long‑Term Prevention Strategies
Once symptoms improve, maintaining hip strength and smart movement habits prevents recurrence.
Key Habits for Long‑Term Success
- Maintain strength: Keep doing hip and glute exercises 2–3 times per week.
- Monitor training load: Avoid sudden jumps in walking, running, or hill work.
- Posture awareness: Don’t stand hanging off one hip for long periods.
- Footwear: Use supportive shoes for long walks or runs.
- Body weight and health: Overall metabolic health can influence tendon health; balanced nutrition and weight management may help.
For many, gluteal tendinopathy becomes a manageable condition rather than a persistent problem, once they know how to load the tendon safely and recognize early warning signs.
When to Seek Professional Help
Self‑management works well for many, but get assessed by a healthcare professional (physiotherapist, sports physician, or orthopedic specialist) if:
- Pain is severe or worsening despite careful modification
- You have significant weakness or difficulty weight‑bearing
- Pain radiates below the knee, or you have numbness/tingling (could indicate a back or nerve issue)
- You’re unsure of the diagnosis (it could be hip osteoarthritis, lumbar spine issues, or another pathology)
- You’ve tried a structured rehab program for 3 months with little improvement
A professional can provide:
- Individualized exercise progression
- Gait and movement analysis
- Advice on adjuncts like shockwave therapy, taping, or injections when appropriate
- Referral for imaging if other issues are suspected
FAQ About Gluteal Tendinopathy and Hip Tendon Pain
1. How long does gluteal tendinopathy take to heal?
Recovery time varies, but many people notice meaningful improvement within 6–12 weeks of consistent, appropriate exercise and load management. Chronic gluteal tendinopathy that’s been present for many months can take longer (3–6+ months). Tendons adapt slowly; staying patient and consistent with your program is crucial.
2. Is walking good or bad for gluteal tendon pain?
Walking is generally beneficial for overall health and circulation, and it can be part of rehab for gluteal tendon pain if dose‑controlled. If walking significantly worsens outer‑hip pain during or the day after, reduce distance, avoid hills, and build back up gradually. Combine walking with a strengthening program for the best outcomes.
3. Do I need imaging (MRI or ultrasound) for greater trochanteric pain?
Most cases of greater trochanteric pain syndrome and gluteus medius tendinopathy can be diagnosed clinically, without imaging. Ultrasound or MRI might be needed if symptoms are severe, not improving with good rehab, or if there’s suspicion of a partial or full tendon tear. Your clinician will decide based on your exam and history.
Take Control of Your Recovery from Gluteal Tendinopathy
Gluteal tendinopathy doesn’t have to mean giving up walking, running, or comfortable sleep. By reducing tendon compression, following a progressive strengthening plan, and rebuilding your hip’s capacity step by step, you can achieve lasting pain relief and confidently return to the activities you enjoy.
If outer‑hip pain has been limiting your life, now is the time to act. Start implementing the strategies and exercises outlined above, and consider partnering with a qualified physiotherapist or rehabilitation professional to tailor a program to your needs. With the right guidance and consistent effort, you can move past gluteal tendinopathy and get back to moving well.