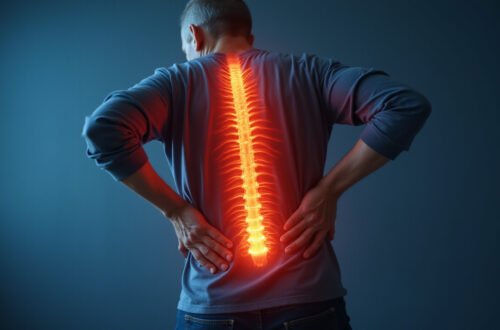
Lower crossed syndrome is one of the most common (and most overlooked) reasons people develop chronic low back pain, tight hips, and a protruding belly despite being active and “fit.” The good news: with the right at-home exercises and daily habits, you can start correcting the muscular imbalances that drive this condition and gradually restore healthier posture.
This guide explains what lower crossed syndrome is, how to tell if you might have it, and—most importantly—8 targeted exercises you can do at home to start feeling and moving better.
What Is Lower Crossed Syndrome?
Lower crossed syndrome (LCS) is a postural and muscular imbalance pattern involving the pelvis, lower back, hips, and abdominal muscles. It was first described by Dr. Vladimir Janda, a pioneer in rehabilitation and posture research.
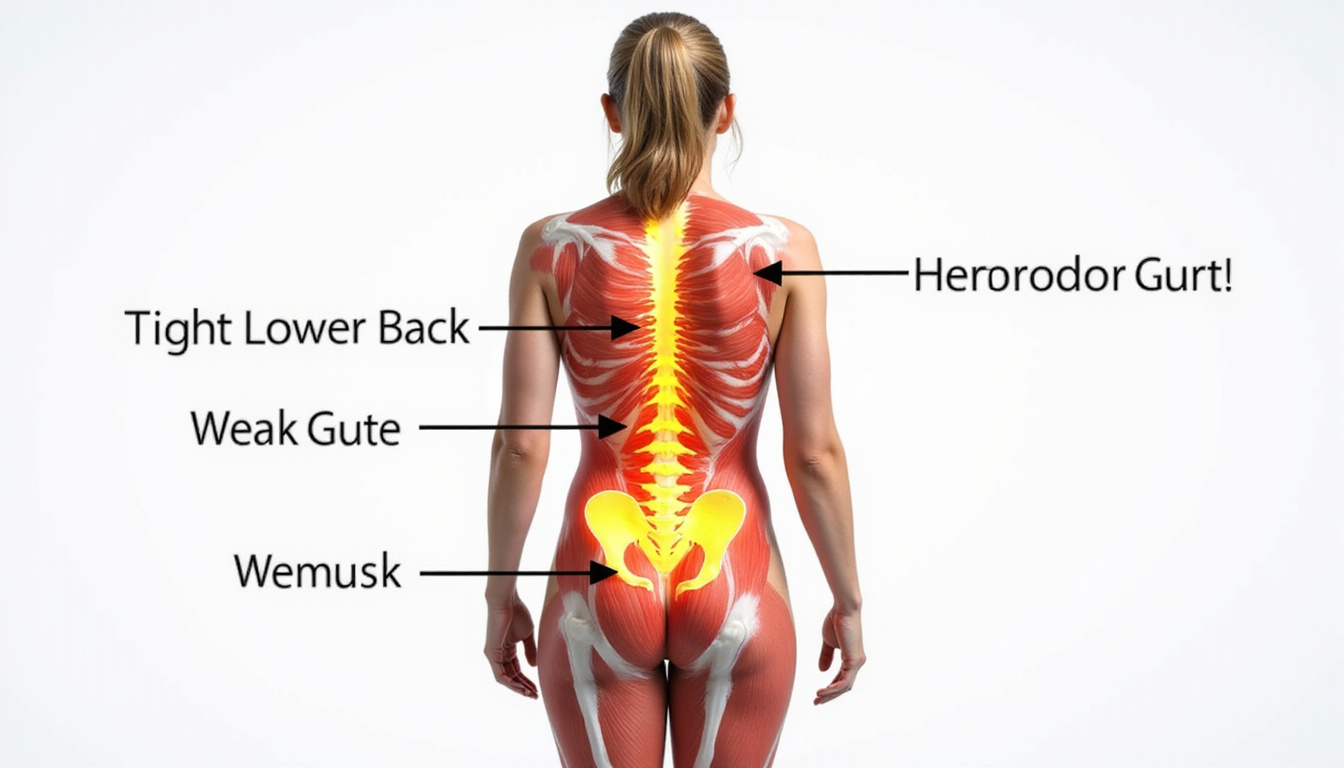
In LCS, some muscles are chronically tight and overactive, while others are weak and underactive. These opposing patterns “cross” each other, leading to an exaggerated arch in the lower back (lumbar lordosis) and a pelvis that tilts forward.
Typical muscle patterns in lower crossed syndrome
Tight/overactive:
- Hip flexors (psoas, iliacus, rectus femoris)
- Lumbar erectors (muscles of the lower back)
Weak/underactive:
- Gluteus maximus and medius (butt muscles)
- Deep core stabilizers (transverse abdominis, internal obliques)
When left unaddressed, this imbalance can contribute to:
- Chronic low back pain
- Hip and groin stiffness
- Hamstring strains
- Knee discomfort
- Reduced athletic performance
Common Signs and Symptoms of Lower Crossed Syndrome
You don’t need a formal diagnosis to start improving, but recognizing the pattern helps you choose better exercises.
Postural signs
- Anterior pelvic tilt – Your pelvis tips forward; “front of your hips” sits lower than the back.
- Exaggerated lower back arch – Your lower back curves inward more than normal.
- Protruding abdomen and butt – Belly sticks out, butt appears more “arched out” even when not flexing.
Movement and sensation clues
- Tightness in the front of the hips, especially after sitting
- Stiffness or ache in the lower back after standing or walking
- Weak or “inactive” glutes—you feel everything in your low back or hamstrings instead
- Difficulty holding a neutral spine during exercises like squats or deadlifts
If this sounds familiar, the exercises below are designed for you.
How to Fix Lower Crossed Syndrome at Home
To address lower crossed syndrome effectively, your plan needs two key elements:
- Lengthen what’s tight – Primarily hip flexors and lower back muscles
- Strengthen what’s weak – Primarily glutes and deep core stabilizers
The 8 at-home exercises below are organized into:
- 3 stretches/mobility drills
- 3 core and glute activation exercises
- 2 integration patterns that teach your body better posture in real-world movement
You don’t need equipment beyond a mat and maybe a small pillow or towel.
1. Half-Kneeling Hip Flexor Stretch
This directly targets tight hip flexors—one of the main drivers of lower crossed syndrome.
How to do it:
- Kneel on your right knee with your left foot in front, knee bent at 90 degrees (like a lunge).
- Keep your torso upright and gently tuck your pelvis under, as if zipping up tight jeans.
- Slowly shift your weight forward until you feel a stretch in the front of your right hip.
- Avoid overarching your lower back—keep ribs stacked over pelvis.
- Hold for 30–45 seconds, then switch sides.
Reps: 2–3 rounds per side, daily.
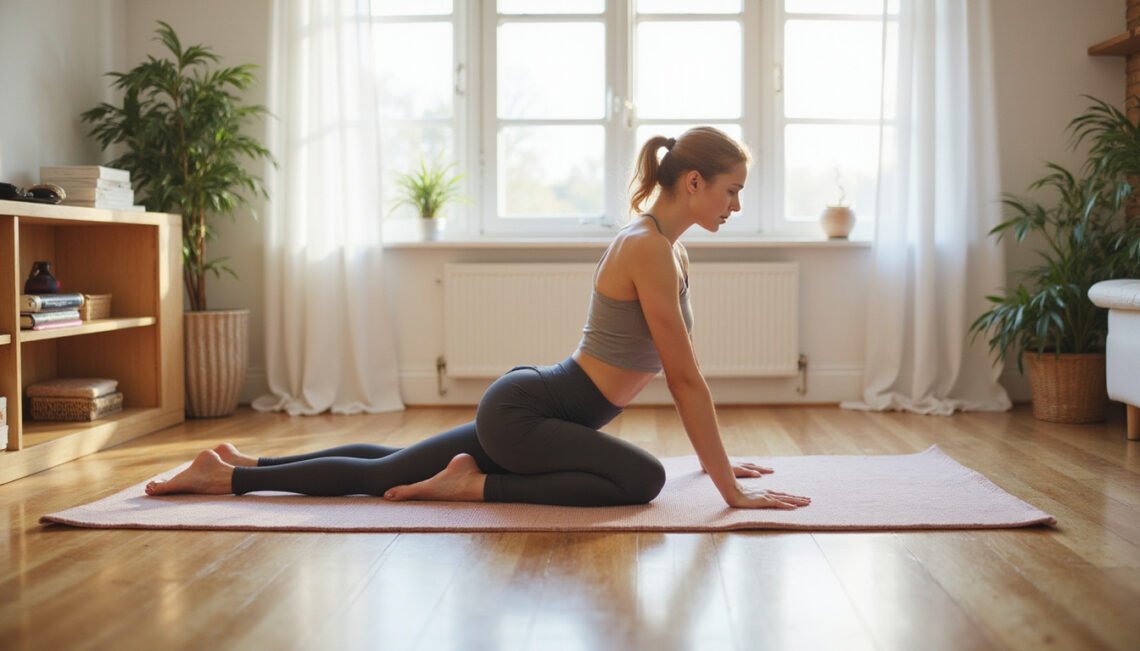
2. Child’s Pose with Side Reach
This helps lengthen tight lower back muscles and the lats, which can influence pelvic position.
How to do it:
- Start on hands and knees, then sit back onto your heels, reaching your arms forward on the floor.
- Drop your forehead toward the ground; relax your shoulders and back.
- To focus more on one side, walk both hands to the right to stretch the left side of your back.
- Breathe deeply into your lower ribs and belly.
Hold: 30–60 seconds, 2 times, moving hands to each side.
3. Figure-4 Glute Stretch
Lower crossed syndrome often includes tightness around the hip joint. This stretch relaxes the deep rotators and glutes.
How to do it:
- Lie on your back with both knees bent.
- Cross your right ankle over your left thigh, just above the knee.
- Reach through and gently pull your left thigh toward you until you feel a stretch in your right glute.
- Keep your lower back relaxed and flat on the floor.
Hold: 30–45 seconds per side, 2–3 rounds.
4. Dead Bug for Deep Core Activation
Weak deep core muscles are central to lower crossed syndrome. The dead bug trains your abdominals to stabilize your spine while your limbs move.
How to do it:
- Lie on your back with arms extended toward the ceiling.
- Bring hips and knees to 90 degrees (tabletop), shins parallel to the floor.
- Gently press your lower back toward the floor by tightening your abs (think “zip up your belly”).
- Slowly lower your right arm and left leg toward the floor while maintaining a flat lower back.
- Return to the starting position and switch sides.
- Move slowly and with control; if your back arches, reduce the range of motion.
Reps: 6–10 per side, 2–3 sets, 3–4 times per week.
5. Glute Bridge
This is essential for waking up and strengthening your glutes so they can share the load with your lower back.
How to do it:
- Lie on your back with knees bent, feet hip-width apart and flat on the floor.
- Engage your core and lightly tuck your pelvis (avoid arching your back).
- Push through your heels to lift your hips until your body forms a straight line from shoulders to knees.
- Squeeze your glutes at the top; avoid letting your ribs flare or your low back overarch.
- Lower slowly and repeat.
Reps: 10–15, 2–3 sets.
Progressions: Hold for 3–5 seconds at the top; eventually try single-leg bridges.
6. Clamshells for Glute Medius
The glute medius supports hip and pelvic alignment. When it’s weak, your pelvis and lower back can compensate.
How to do it:
- Lie on your side with knees bent about 90 degrees and hips stacked.
- Keep your feet together and your core gently engaged.
- Without rolling your hips backward, lift your top knee like opening a clamshell.
- Pause briefly, then lower with control.
You should feel this in the side of your top hip, not in your lower back.
Reps: 12–15 per side, 2–3 sets, 3–4 times per week.
Optional: Add a light resistance band above the knees.
7. Wall Sit with Neutral Pelvis
Once you’ve opened tight muscles and activated weak ones, you need to train your body to hold better alignment. A wall sit reinforces a neutral pelvis and engaged core.
How to do it:
- Stand with your back against a wall, feet about 18–24 inches away, hip-width apart.
- Slide down into a partial squat (thighs roughly 45–90 degrees to the floor, as tolerable).
- Gently tuck your pelvis to reduce excessive arch in your lower back.
- Press your lower ribs and shoulders lightly into the wall while breathing normally.
- Keep knees aligned over the middle of your feet.
Hold: 20–45 seconds, 2–3 sets.
Focus on maintaining a small, natural curve in the lower back—not flattening it completely.
8. Hip Hinge Pattern (Doorway Drill)
Proper hip hinging teaches your body to move from the hips—not overextend the lower back—during everyday tasks like bending, lifting, and picking things up.
How to do it:
- Stand facing away from a wall or doorway, about 6–8 inches in front of it.
- Place your feet hip-width apart, knees slightly bent.
- Place your hands on your hips and gently draw your belly in.
- Push your hips back toward the wall while keeping your spine neutral (no rounding or over-arching).
- When your glutes lightly tap the wall, pause, then drive your hips forward to stand up.
Reps: 10–12, 2–3 sets, 3–4 times per week.
This pattern is the foundation for healthy squats and deadlifts and helps protect the lower back.
Sample 10–15 Minute At-Home Routine
You don’t need to do every exercise every day. Start with a simple, consistent routine 3–4 times per week:
- Half-Kneeling Hip Flexor Stretch – 30–45 sec/side
- Child’s Pose – 30–60 sec
- Dead Bug – 6–8 reps/side
- Glute Bridge – 10–12 reps
- Clamshells – 10–12 reps/side
- Hip Hinge (Doorway Drill) – 8–10 reps
As you adapt, add wall sits and the figure-4 stretch, or increase sets.
Lifestyle Habits That Support Your Exercises
Lower crossed syndrome usually develops from daily habits, especially prolonged sitting and poor movement mechanics. To get lasting results, combine exercises with a few simple behavior changes:
- Change positions often – Stand up and walk for 2–3 minutes every 30–45 minutes of sitting.
- Adjust your workstation – Use a chair that supports neutral hips and lower back; keep screens at eye level.
- Engage your core lightly during daily tasks – Think “zip up” your lower belly when lifting, bending, or standing.
- Prioritize walking – Gentle, regular walking promotes blood flow and less stiffness.
Research shows that exercise therapy and posture-focused interventions can significantly reduce chronic low back pain and improve function (source: National Institutes of Health).
When to See a Professional
While many people improve lower crossed syndrome with at-home exercises, consult a physical therapist, chiropractor, or other qualified provider if:
- Pain is sharp, worsening, or radiates down the leg
- You experience numbness, tingling, or weakness
- Symptoms interfere with sleep or daily activities
- You’re unsure whether your form is correct
An expert can tailor a program, check your technique, and rule out more serious issues.
FAQ: Lower Crossed Syndrome and Posture
Q1: How long does it take to correct lower crossed syndrome?
Mild lower crossed syndrome can start improving in 4–6 weeks with consistent stretching and strengthening 3–4 times per week. More established patterns may take several months. The key is consistency and integrating better posture into daily life, not just doing exercises occasionally.
Q2: Can lower crossed syndrome be fixed without going to the gym?
Yes. Lower crossed syndrome exercises can be done entirely at home using body weight. Stretches like the hip flexor and child’s pose combined with strengthening moves like glute bridges, dead bugs, and clamshells are highly effective without equipment, as long as you perform them regularly and with good form.
Q3: Is lower crossed syndrome the cause of my low back pain?
Lower crossed posture is a common contributor to low back pain, but it’s not the only possible cause. If your pain is chronic, severe, or accompanied by symptoms like numbness or loss of strength, get evaluated by a healthcare professional. They can determine whether your pain is primarily due to lower crossed syndrome or another condition.
Start Rebuilding Your Posture Today
Lower crossed syndrome doesn’t have to be a lifelong issue. By understanding the pattern—tight hip flexors and lower back, weak glutes and core—you can address the root causes rather than just chasing pain.
Begin with the 8 at-home exercises in this guide and commit to a short, consistent routine. As your posture improves, you’ll likely notice less stiffness, better movement, and more confidence in your body.
If you’re ready to take the next step, start your first 10–15 minute session today. Then, track how you feel over the next few weeks. Small, steady changes compound quickly—and your lower back, hips, and posture will thank you.